How to Build Custom Shelves for Your Bathroom: A DIY Guide
houseremodelingnews.com may earn a commission if you purchase a product through one of our links
Ever wondered how to make your small bathroom more spacious? Custom DIY shelves might be the solution. This guide will show you how to turn unused space into a storage paradise with built-in shelves and cabinets.
Building your own shelves lets you design storage that fits your needs perfectly. It’s a great project for both experienced DIYers and beginners. With the right tools and materials, you can create a tidy bathroom oasis.
We’ll guide you through every step, from picking the right plywood to adding the final touches like crown molding. You’ll learn how to measure your space, choose materials, and build with precision. By the end, you’ll know how to make shelves that are not only beautiful but also durable.
Key Takeaways
- Custom shelves maximize bathroom space and storage
- Project requires basic woodworking skills and tools
- Materials include plywood, trim boards, and hardware
- Steps cover framing, shelf installation, and finishing
- Optional cabinet doors can be added for concealed storage
- Proper planning ensures a successful DIY project
Introduction to Custom Bathroom Shelving
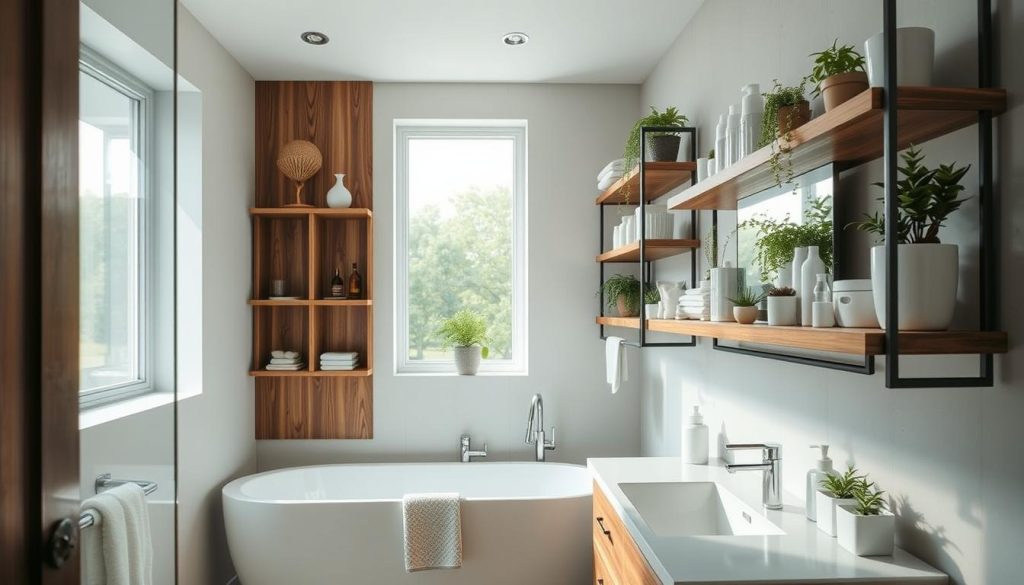
Custom bathroom shelving is a big change in interior design. It’s a clever way to save space and make your bathroom look better. By making shelves just for you, you’ll use every inch of space and add a personal touch.
Benefits of custom shelves
Custom shelving has many benefits for your bathroom:
- Maximizes storage space
- Personalizes your bathroom’s aesthetic
- Increases functionality
- Adapts to unique bathroom layouts
Overview of the project
This DIY project is about making shelves in wall studs or recessed areas. You’ll learn to make an under-sink shelf that increases storage without costing much. The steps include planning, measuring, cutting, and putting in your custom shelves.
Skill level and time requirements
The project is for those with some DIY skills. The time needed depends on how big and complex your shelves are. But, expect to spend around 5 weeks if you’re doing a full bathroom makeover with custom shelves. Here’s a rough guide to how long each part might take:
| Task | Estimated Time |
|---|---|
| Planning and design | 1-2 days |
| Material gathering | 1 day |
| Building shelves | 2-3 days |
| Installation | 1-2 days |
| Finishing touches | 1 day |
Remember, being patient is important in custom shelving projects. Take your time to make sure everything is done right and looks great.
Planning Your Bathroom Shelf Project
Ready to make your bathroom better with custom shelves? This guide will help you plan. You’ll learn how to make storage that’s both useful and looks great.
Assessing Your Bathroom Space
First, take a close look at your bathroom. Measure the area for your shelves, avoiding pipes or switches. For small bathrooms, think about using recessed areas or the space above the toilet. This trick can maximize your space.
Determining Shelf Size and Placement
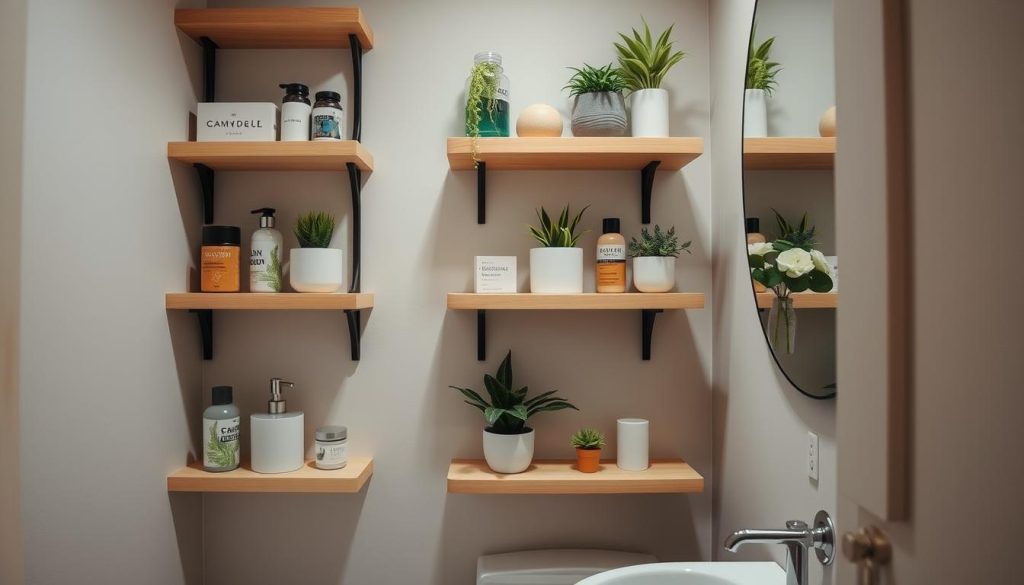
After finding the perfect spot, decide on shelf size. For over-toilet shelves, aim for 18 inches long and 11 1/2 inches wide. Place them 16 inches apart for a balanced look. Use a laser level for accurate drill hole placement.
Choosing Materials and Finishes
Pick materials that match your budget and taste. A 2″x12″ wood piece can be cut for your shelves. For a cheap option, use plywood or leftover cedar planks. Choose finishes that match your bathroom’s look. Stains like Minwax Classic Gray or Rustoleum Summer Oak can add a nice touch.
| Material | Approximate Cost | Pros | Cons |
|---|---|---|---|
| Plywood | $20-$30 | Affordable, versatile | May require edge finishing |
| Solid Wood | $40-$60 | Durable, natural look | More expensive |
| Cedar Planks | $30-$50 | Aromatic, resistant to moisture | May be harder to find |
With these tips and affordable choices, you’re set to create custom shelves. They’ll improve your bathroom’s look and function. Remember, planning and creativity are key to a great DIY project!
Essential Tools and Materials
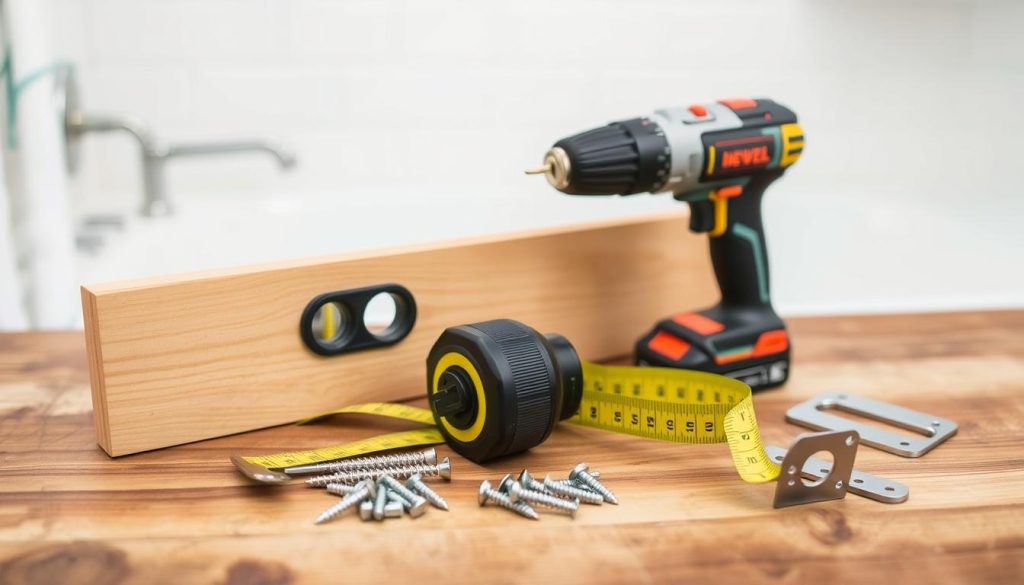
Are you ready to start your DIY bathroom shelf project? We’ll cover the tools and materials you need. This woodworking project is great for those who love home decor and want to improve their bathroom storage.
You’ll need a circular saw, miter saw, drill, brad nailer, Kreg Jig, stud finder, and level. These tools are key for making precise cuts and ensuring your shelves are securely installed.
Now, let’s look at the materials you’ll need:
| Item | Quantity | Estimated Cost |
|---|---|---|
| 2×12 Pine board (12′) | 1 | $15.93 |
| Shelf brackets | 6 | $39.48 |
| Stain (Dark Walnut) | 1 | $8.98 |
| Triple-Thick Poly | 1 | $13.97 |
| Screws and wall anchors | As needed | Varies |
The total cost is about $78.36. However, you can save money if you already have some tools. This DIY guide is for shelves that are 27″ long with 12″ spacing between each.
For finishing, you’ll need sandpaper from 80 to 400 grit. This helps prepare the surface for staining. Remember to seal your shelves with polyurethane for extra durability.
With these tools and materials, you’re ready to make beautiful custom shelves. They will greatly improve your bathroom’s storage and decor.
Measuring and Marking Your Space
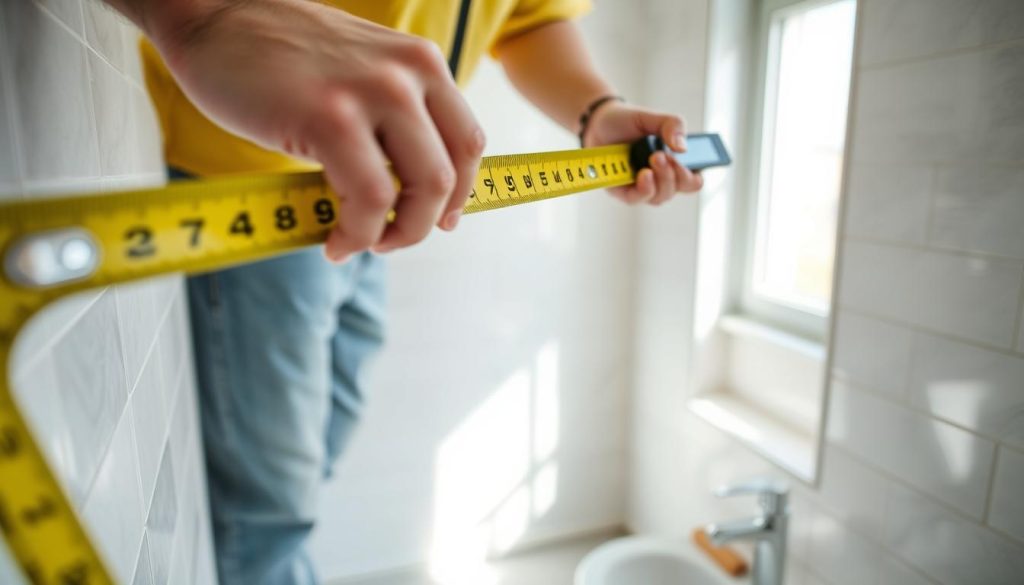
Ready to make your bathroom better with custom shelves? Accurate measurements are crucial for a great makeover. Let’s get your space ready for those perfect shelves.
Using a Stud Finder
First, find wall studs with a stud finder. They offer strong support for your shelves. Mark these spots with painter’s tape for easy installation.
Creating a Template
Make a template with cardboard or paper to see your shelf layout. For a 4-shelf design, space shelves about 10 inches apart. Here are some key measurements:
- Shelf width: 23 1/2 inches
- Bottom shelf depth: 8 1/2 inches
- Top shelf depth: 4 1/4 inches
- Distance above toilet lid: 3 3/4 inches
Marking Wall Studs
Outline your shelf spots on the wall with Frogtape®. This makes it easier to see the final look and ensures proper spacing. Start the first shelf 12 3/4 inches up from the toilet lid. Make sure your shelves are level for a clean look.
| Shelf Component | Measurement |
|---|---|
| Shelf legs (from 1×4) | 1 1/2 inches wide |
| Spacing between shelves | 12 inches (for towels/baskets) |
| Support piece depth | Equal to shelf depth |
| Screw length (no studs) | 3/4 inch longer than support |
With these measurements, you’re ready to build custom shelves. Next, we’ll prepare the wall for installation.
Preparing the Wall for Installation
Before starting your DIY bathroom remodeling, it’s important to prepare the wall for your custom shelves. This step makes the installation smooth and ensures the shelves last long.
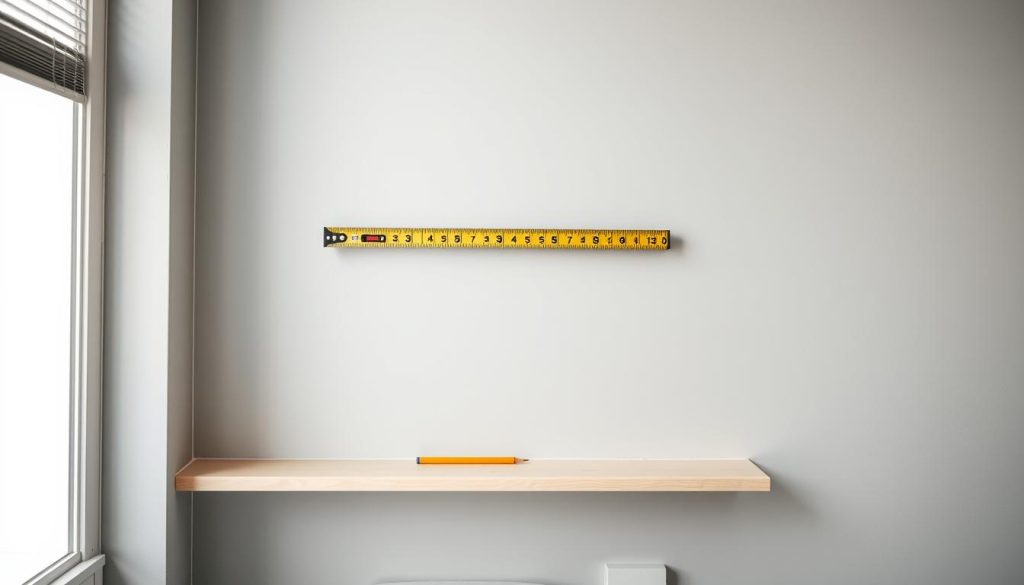
First, remove any old fixtures or things in the way from the wall. If you want recessed shelves, cut the drywall to fit. Use a stud finder to find and mark the wall studs for mounting.
Clean the wall well to get rid of dust, dirt, and other stuff. Fix any holes or blemishes with spackling compound and sand it smooth. This makes your shelves fit perfectly.
- Remove old fixtures
- Cut drywall if needed
- Locate and mark wall studs
- Clean and patch the wall surface
For a great bathroom remodeling job, think about these costs and sizes:
| Item | Quantity | Dimensions/Details |
|---|---|---|
| 1×2 select pine | 3 pieces | 8′ long |
| 1/4″ plywood | 1 piece | 2′ x 4′ |
| Brad nails (18 gauge) | 33 pieces | 1 1/4″ long |
| Brad nails (18 gauge) | 36 pieces | 3/4″ long |
| Pocket hole screws | 9 pieces | 1 1/4″ long |
By following these steps and using the right materials, you’ll have a great start for your DIY bathroom shelving project. Remember, a well-prepared wall is essential for professional-looking results in your bathroom remodeling.
Cutting and Assembling Shelf Components
Get ready to dive into the heart of your woodworking project! Creating rustic shelves for your bathroom starts with cutting and assembling the key components. This step is crucial for crafting sturdy, floating shelves that will stand the test of time.
Cutting Plywood to Size
Begin by cutting your Southern yellow pine boards to the desired dimensions. For our project, we’re using 8 x 1.5 x 96 inch boards. Make a rip cut at 1.5 inches depth to achieve the perfect size for your floating shelves. Remember, precision is key in woodworking!
Creating Shelf Frames
Next, construct the frames for your rustic shelves. Use 6 x 3-inch wood screws, two per shelf, to secure the frame pieces together. This creates a solid foundation for your bathroom storage solution. For added strength, consider using a Kreg Jig for pocket holes.
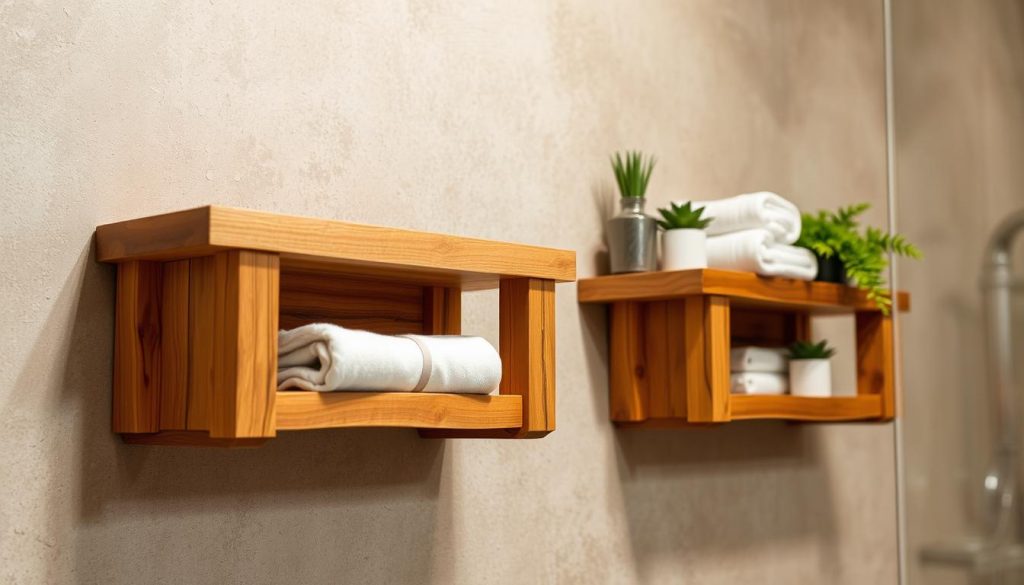
Attaching Backing Boards
To complete your shelf assembly, attach backing boards using 3/4 to 1-inch wood screws. One screw per shelf is sufficient. This step not only adds stability but also gives your floating shelves a finished look. For a decorative touch, cut nine pieces from a 1/2-inch oak dowel to create shelf supports.
With these components assembled, your custom bathroom shelves are taking shape. The estimated weight capacity of these sturdy shelves is 50 to 60 pounds, perfect for storing toiletries and decor items. Remember, patience and attention to detail in this phase will result in beautiful, long-lasting rustic shelves for your bathroom.
DIY Shelves: Customize Your Bathroom
Make your bathroom special with custom shelves. Wall-mounted shelves are stylish and practical. They let you show off your style and keep things tidy.
Personalizing Shelf Designs
Give your shelves a unique look with rustic decor. Try using reclaimed wood for a farmhouse style or bold colors for something modern. You can even mix wood and metal for an industrial look. The choices are endless!
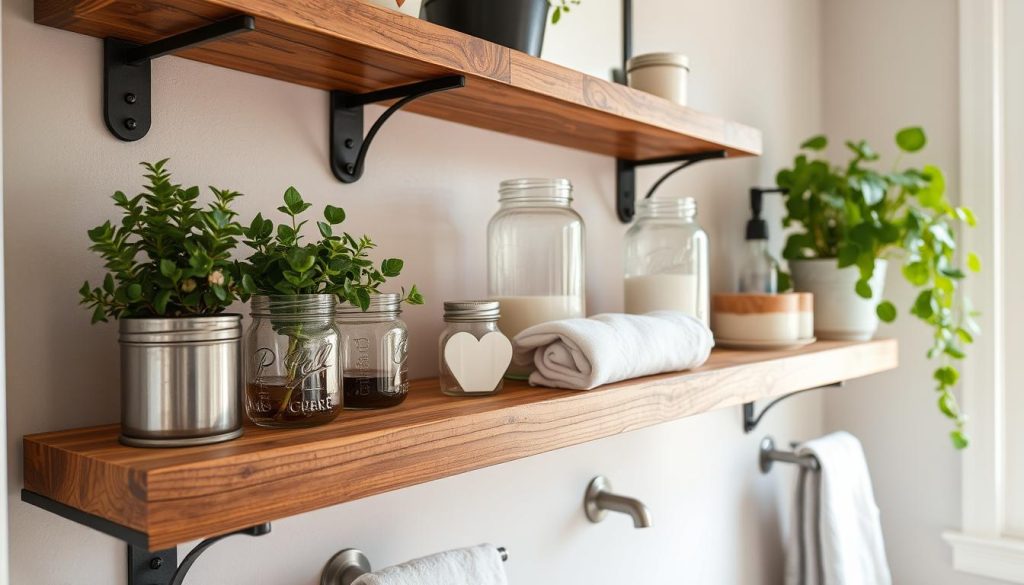
Adding Decorative Elements
Make your shelves more interesting with decorative touches. Add trim for a neat finish or beadboard for texture. Use upholstery tacks for a special touch. Paint them Sherwin Williams Pure White for a clean look.
Incorporating Storage Solutions
Turn your shelves into storage spots. Add hooks for towels, small baskets for toiletries, or built-in compartments for a neat space. Wire baskets add a rustic charm while keeping things organized.
| DIY Shelf Ideas | Cost | Style |
|---|---|---|
| Wooden Crate Shelves | $15 – $30 | Rustic |
| Wire Basket Shelves | $20 – $40 | Farmhouse |
| Custom Built Shelving Unit | $15 – $50 | Versatile |
Don’t forget to use caulking for a professional look. Apply it where boards meet and around edges. Sand, prime, and paint for a perfect finish. Follow these tips to create beautiful, functional bathroom shelves.
Installing the Shelf Frame
Ready to make your bathroom look amazing with open shelving? Let’s start with installing the shelf frame. This step is key to your new look, so we’ll do it right!
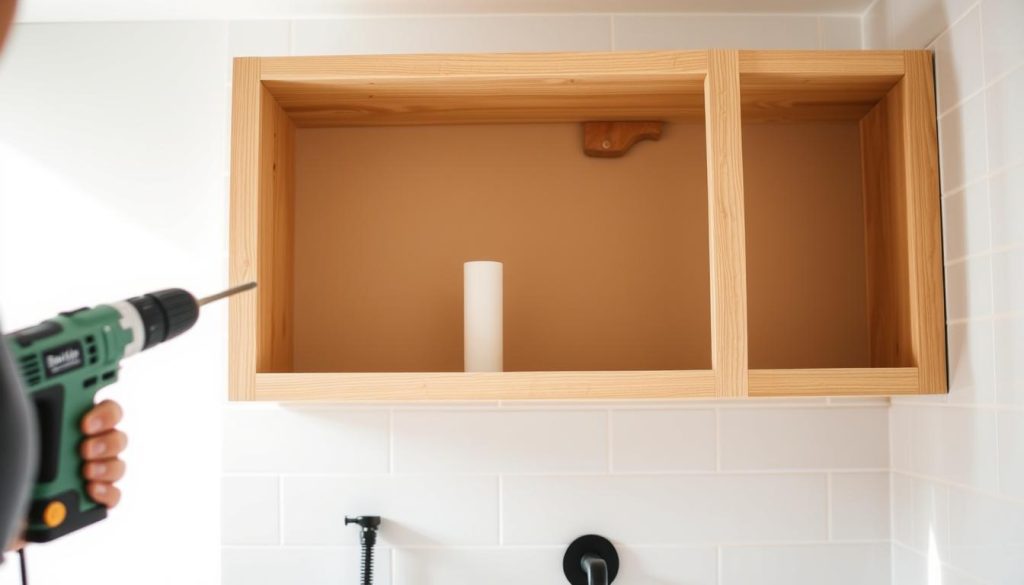
First, find the wall studs with a stud finder. Mark them well – they’re where you’ll anchor your shelf. Then, place your shelf frame on the wall and check if it’s level. Use a spirit level for both horizontal and vertical checks.
Next, screw the frame to the wall studs. For most projects, 2½-inch wood screws are perfect. Screw them through the frame and into the studs for a strong hold.
If the wall isn’t even, don’t worry! Use thin wood shims to level it out. This step is important for a professional finish in your bathroom.
- Check for level after every few screws
- Fill screw holes with wood filler for a seamless finish
- Sand down any excess filler once dry
Installing open shelving takes patience. Take your time to get everything just right. Your future self will appreciate the effort when you arrange your toiletries and decor on these custom shelves!
| Item | Quantity | Purpose |
|---|---|---|
| Wood screws (2½-inch) | 8-12 | Secure frame to wall |
| Wood shims | As needed | Level irregularities |
| Wood filler | 1 small tube | Fill screw holes |
Adding Shelves and Supports
Now that your shelf frame is ready, it’s time to add shelves and supports. This step turns your bathroom into a useful storage area. Let’s explore how to make adjustable shelves that fit your needs.
Installing Shelf Pins
Begin by using a shelf pin jig to mark and drill holes for your shelves. This tool helps place shelf pins accurately. This way, you can change your storage setup whenever you want. Make sure to space the holes about 2 inches apart for flexibility.
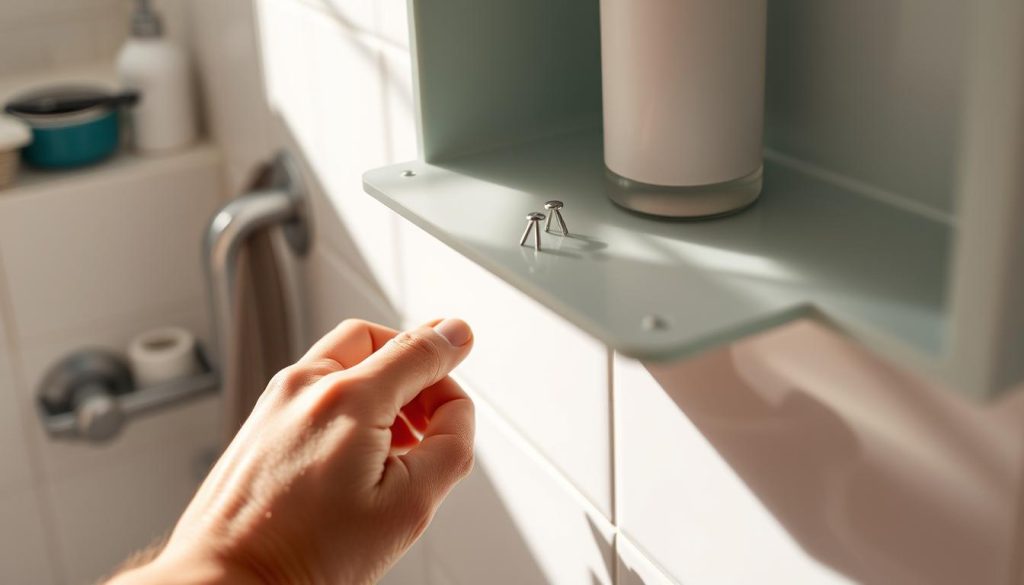
Securing Adjustable Shelves
After installing the shelf pins, place your shelves. For a typical bathroom, use white oak boards that are 5-6 inches deep and 22-24 inches long. These sizes are great for shelves over toilets. Make sure each shelf is level before moving to the next one.
Testing Weight Capacity
Before putting heavy items on your shelves, test their weight. Start with light items and add more weight gradually. A well-made shelf should hold your toiletries and decorations easily. The secret to good bathroom storage is finding a balance between function and style.
| Shelf Type | Material | Typical Dimensions | Weight Capacity |
|---|---|---|---|
| Over-the-toilet | White Oak | 5-6″ deep x 22-24″ long | 15-20 lbs |
| Wall-mounted | Pine (Stained) | 11″ wide x 24″ long | 25-30 lbs |
| Pipe Shelving | Pine with ½” pipes | 18″ uprights, 12″ supports | 35-40 lbs |
With your shelves up, you’re set to organize your bathroom. Focus on keeping things useful while adding touches that make your space look good. Your custom shelves are now ready to show off your style and keep your bathroom neat.
Finishing Touches: Trim and Paint
Now that your custom shelves are in place, it’s time to add those final touches. Start with trim. A simple edge trim can make your shelves look amazing. Choose a style that fits your bathroom’s look – sleek or ornate.
Next, caulk all seams and gaps. This step makes your shelves look polished and protects against moisture. After it dries, prime your shelves. Use a moisture-resistant primer to fight humidity in bathrooms.
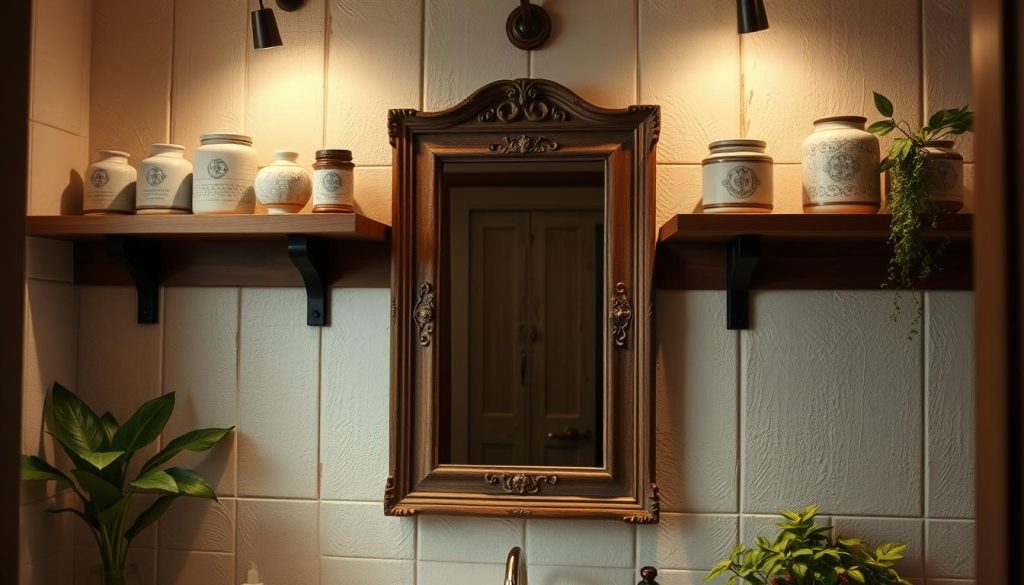
When painting, think about your bathroom’s colors. A crisp white can highlight your shelves, while a bold color makes them stand out. For a budget-friendly option, paint just the edges or backs for a subtle color pop.
Don’t overlook rustic accents! A distressed finish or wood stain adds warmth and character. You could even use reclaimed wood for an eco-friendly touch. These touches let you make your space truly yours.
“The right trim and paint can transform simple shelves into a stunning focal point in your bathroom.”
For extra protection, apply a clear topcoat after painting. It guards against water splashes and makes cleaning easy. With these touches, your DIY shelves will look professional and stylish, ready to display your favorite items.
Organizing Your New Bathroom Shelves
Now that your custom shelves are in place, it’s time to make your bathroom organized. Let’s look at some tips and ideas to use your new storage well.
Arranging toiletries and decor
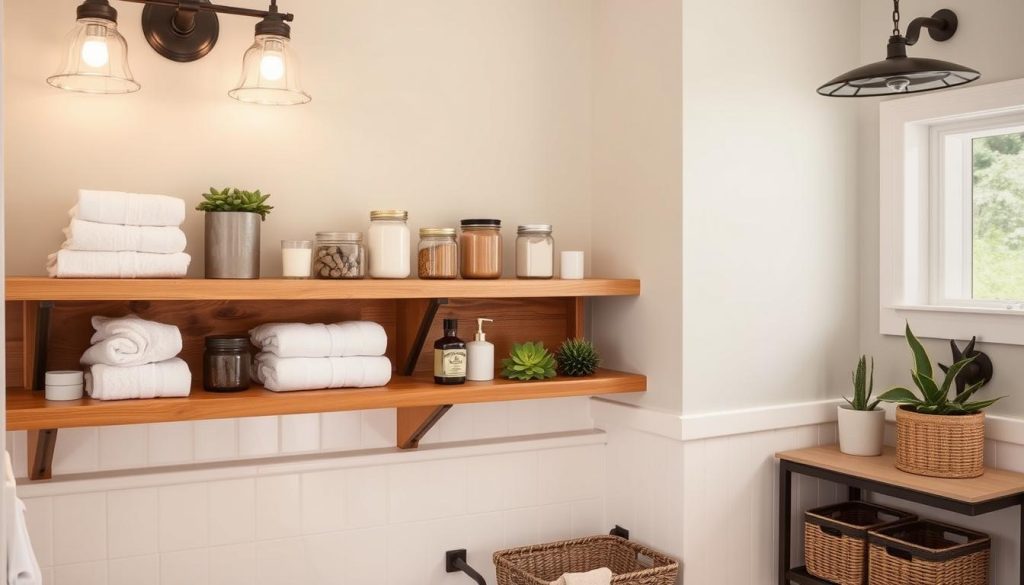
Begin by organizing similar items on your shelves. Keep often-used products at eye level for easy reach. Use baskets or jars for small items like cotton swabs or hair ties.
Add a spa-like feel with small plants. They can make your bathroom look and feel great.
Maximizing storage efficiency
Here are some ways to use your shelves wisely:
- Roll towels instead of folding them to save space and look luxurious
- Use clear containers for makeup and skincare
- Get stackable organizers for more vertical space
- Use trays for small items to look neat and organized
Maintaining a clutter-free look
To keep your shelves clean, follow these tips:
- Declutter and remove expired items regularly
- Label containers so you know what’s inside
- Switch out seasonal items to keep things fresh
- Follow the “one in, one out” rule to avoid clutter
| Item | Storage Solution | Benefits |
|---|---|---|
| Towels | Roll and stack | Space-saving, visually appealing |
| Toiletries | Clear containers | Easy to locate, organized appearance |
| Decor | Decorative trays | Cohesive look, easy to clean |
| Plants | Small potted varieties | Adds life, improves air quality |
By using these strategies, you’ll have a bathroom that’s both functional and stylish. Remember, less is more. Choose your items carefully to keep your bathroom clean and welcoming.
Maintenance and Care Tips
Your custom bathroom shelves are a perfect blend of home improvement and interior design. To keep them looking fresh and functional, regular upkeep is key. Let’s explore some easy maintenance tips to preserve your shelving investment.
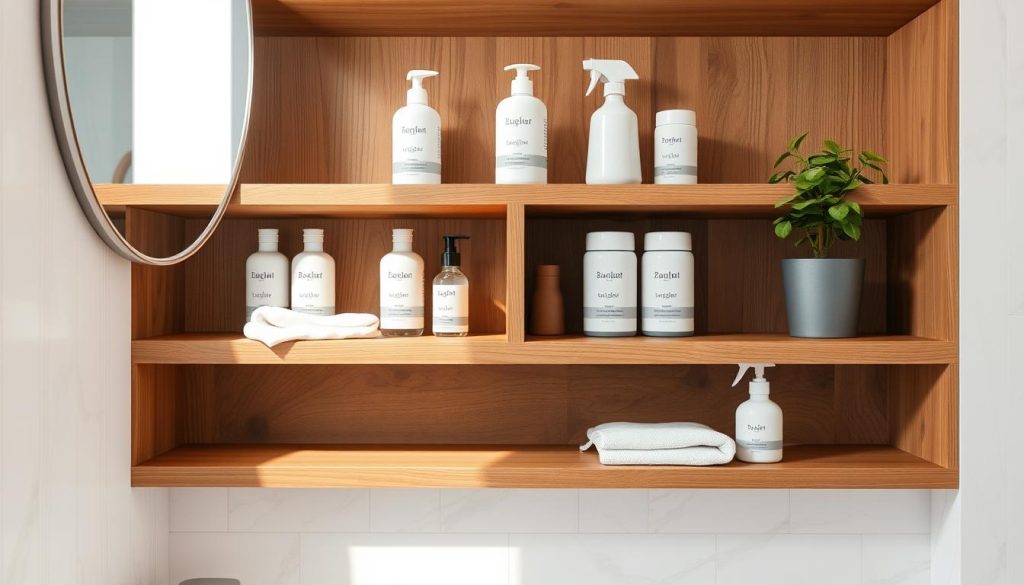
Clean your shelves weekly to prevent dust buildup. Use a soft cloth and mild cleaner suitable for your shelf material. For wood shelves, avoid excess moisture. Glass shelves benefit from a vinegar-water solution for a streak-free shine.
Inspect your shelves monthly for any signs of wear or damage. Check for loose screws, brackets, or shelf pins. Tighten as needed to maintain stability. Look out for water damage, especially in high-humidity bathrooms.
- Dust weekly with a microfiber cloth
- Clean thoroughly monthly with appropriate cleaner
- Check for loose components quarterly
- Inspect for water damage signs bi-annually
- Touch up paint or finish yearly as needed
Keep your shelves organized for both functionality and aesthetics. Aim to keep 60% of shelf space simple and uncluttered. Use decorative jars or baskets to corral small items. Rotate decor seasonally to keep your bathroom feeling fresh.
| Storage Solution | Percentage |
|---|---|
| Space-saving options | 78% |
| Clear bins and containers | 37% |
| Over-the-door organizers | 21% |
| Under-sink space utilization | 29% |
By following these maintenance tips, your custom bathroom shelves will continue to enhance your space. They will combine practicality with style in your home improvement journey.
Closing Thoughts
Your DIY bathroom makeover journey is now complete! You’ve not only made your space better but also learned new skills. These shelves add style and function, making your bathroom more organized and beautiful.
DIY projects are all about flexibility. You can change your shelves as your needs change. You can choose from floating shelves or ones with brackets. Add personal touches like plants, candles, or vintage items to make it your own.
When arranging your items, remember to use odd-numbered groupings and varied heights for a nice look. Use baskets or decorative containers to keep things tidy but easy to find. With your new shelves, you’ve turned your bathroom into a spa. Enjoy your new space!

