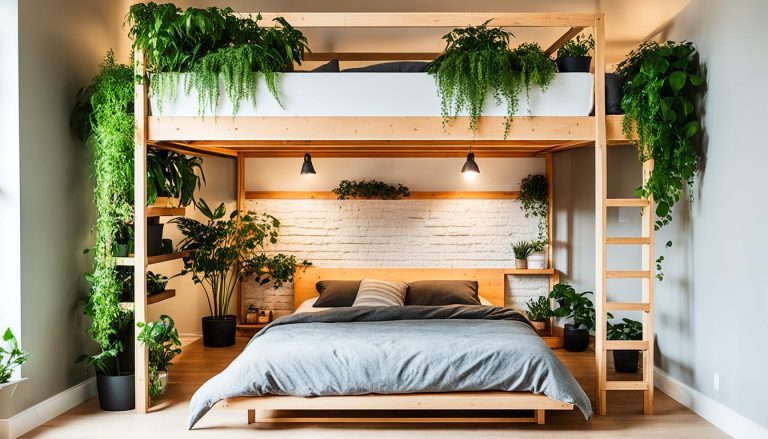
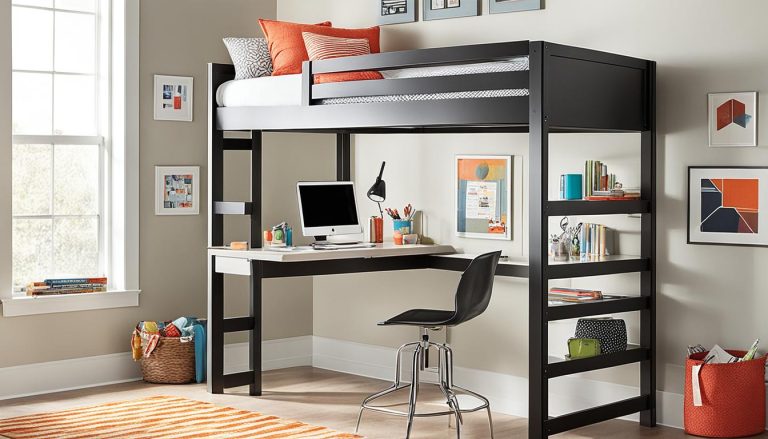
How to Build a Custom Loft Bed: DIY Guide
houseremodelingnews.com may earn a commission if you purchase a product through one of our links
Ever thought about making your small bedroom feel bigger? A custom loft bed could be the perfect fix. These beds use space wisely, combining comfort with practicality.
Creating your own loft bed is a fun project that saves money and gives you a one-of-a-kind piece. With about $400 in materials and 10 days of effort, you can make a full-sized loft bed. It will even have a sleeper sofa underneath.
This guide will show you how to make a loft bed that fits your space perfectly. You’ll discover how to pick the right materials, from different wood types to the correct screws and hardware. We’ll go over planning, building, and adding details like a cozy reading nook and a faux greenery headboard.
Are you ready to make the most of your room? Let’s start this DIY loft bed journey and change your living space for the better!
Introduction to Custom Loft Beds
Custom loft beds change the game in bedroom furniture. They save space by lifting your bed and freeing up the floor. Imagine fitting a queen-size bed in a room with an 11-foot 2-inch ceiling. That’s what loft bed designs can do!
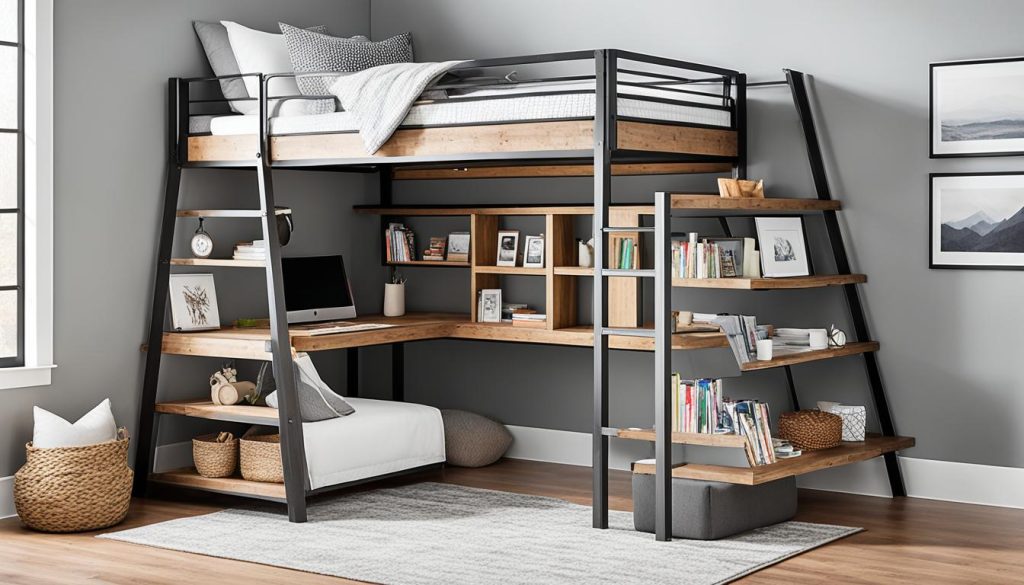
Loft beds are great for many spaces. They work well in kids’ rooms, studio apartments, or guest rooms. They make the most of vertical space, leaving room for desks, storage, or cozy spots underneath.
Creating a custom loft bed needs careful planning and the right tools and materials. You’ll need a finish nailer, jig saw, and miter saw. For building, you’ll use 2×4’s, 2×6’s, shiplap boards, and plywood. The frame uses 2×4 lumber, and the flooring often 2×6 boards for extra strength.
“A 9-foot ceiling is ideal for a loft bed. It allows comfortable sitting and easy ladder access.”
Safety is crucial when making a loft bed. Make sure there’s a 12-16 inch gap around the mattress for easy movement. Add bed rails and a strong ladder for safe climbing. The center slat should be screwed in for the best support.
With careful planning and doing it right, your custom loft bed will be a standout piece in your bedroom. It’s more than just furniture; it’s a smart way to use space in modern homes.
Planning Your Custom Loft Bed Project
Planning is key to a successful loft bed build. Start with careful measurements and smart design choices. Let’s go through the important steps to make your perfect loft bed.
Measuring Your Space
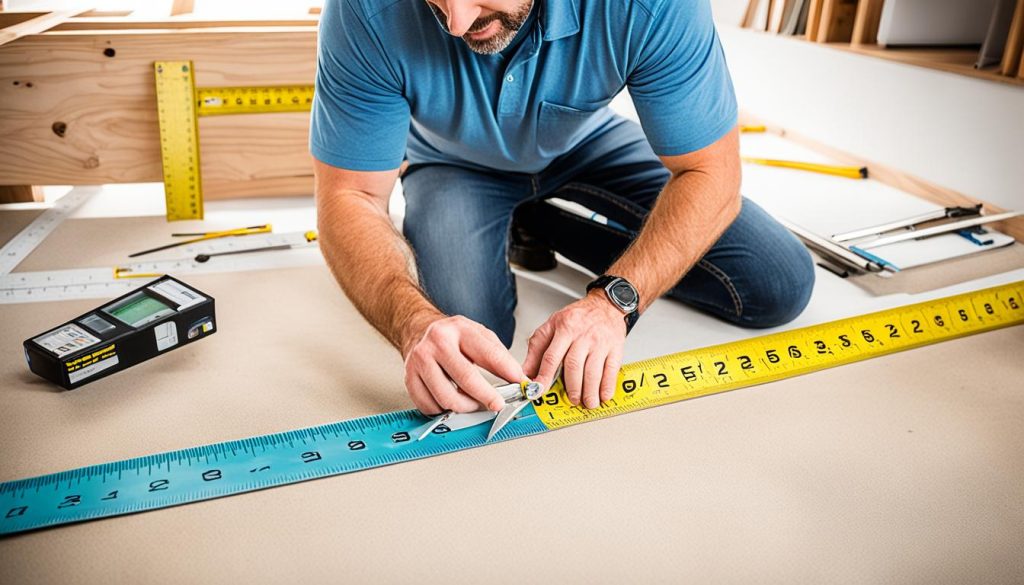
Grab your tape measure! Accurate loft bed dimensions are key. Measure your room’s length, width, and ceiling height. Also, measure windows and doors. This info helps shape your design and ensures a perfect fit.
Choosing the Right Design
Pick a design that suits your space and needs. Simple raised beds are great for small rooms. Loft beds with built-in storage are ideal for organizing your bedroom. Look at loft bed plans online for ideas. You can also customize designs to match your style!
Creating a Materials List
Now, list the materials you’ll need. You’ll need:
- 2×6 and 2×4 boards
- Plywood sheets
- Screws and bolts
- Paint or wood stain
Don’t forget to include any special items for custom features. A detailed list keeps your project on track and helps you stay within your budget. With these steps, you’re set to begin building your dream loft bed!
Essential Tools and Materials
Building a DIY bed frame needs the right materials and tools. Start with top-notch lumber for a strong frame. White Oak is a great pick, with 1-1/2″ thickness for strength. Use 3/4″ plywood for mattress support.
Your toolkit should include:
- Table saw
- Drill
- Screw gun
- Dowel jig
- Kreg Jig
- Circular saw
- Clamps
- Tape measure
For materials, gather:
- 2x4s for framing
- Plywood for slats and edging
- Joist hangers and brackets
- 4″ wood screws
- Wood glue
- Nails
- Paint or stain
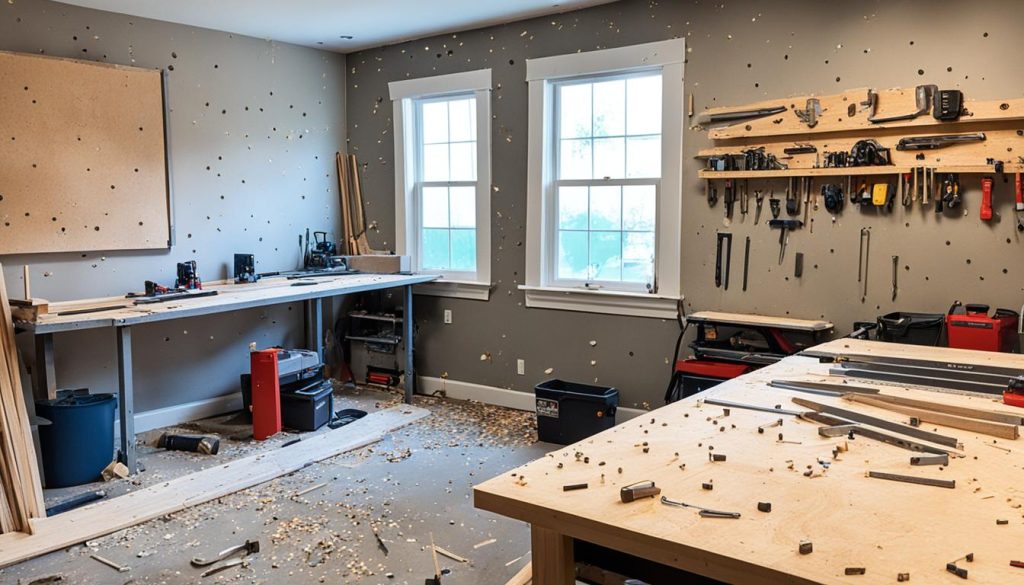
Choose high-grade lumber with few knots for your loft bed. This ensures a smooth finish and long-lasting durability. The right tools and materials are key to a successful DIY bed frame project.
Safety tip: Always wear protective gear like safety glasses when using power tools.
With these essentials, you’re set to create a custom loft bed that’s both useful and stylish.
Safety Considerations for Loft Bed Construction
Building a custom loft bed needs careful safety focus. Your DIY project should focus on loft bed safety for a secure sleep area. Let’s look at important safety points to remember during building.
Weight Capacity
It’s key to consider the bed’s weight capacity for stability. Use strong materials and the right building methods to hold the weight. The posts should be at least 8 x 10cm wide at each end for stability.
Guardrail Requirements
Guardrails are vital to prevent falls. They should be at least 5 inches above the mattress. For more safety, think about using safety nets with a mesh size of 45 mm to stop climbing.

Stability Concerns
Make sure the bed frame is stable by attaching it to wall studs with lag screws and washers. Add diagonal or X-shaped supports for more strength, especially on smooth floors. If your room has sloped ceilings, place the bed’s entrance and headboard away from the ceiling for safety.
Keep a space of 80-100cm between the mattress and ceiling for comfy sleeping. By following these tips, you’ll make a safe and strong loft bed that fits your needs and budget.
How to Build a Custom Loft Bed: Step-by-Step Guide
Building a custom loft bed is a fun woodworking project. It can change your space in a big way. This guide will help you make a unique and useful piece of furniture.
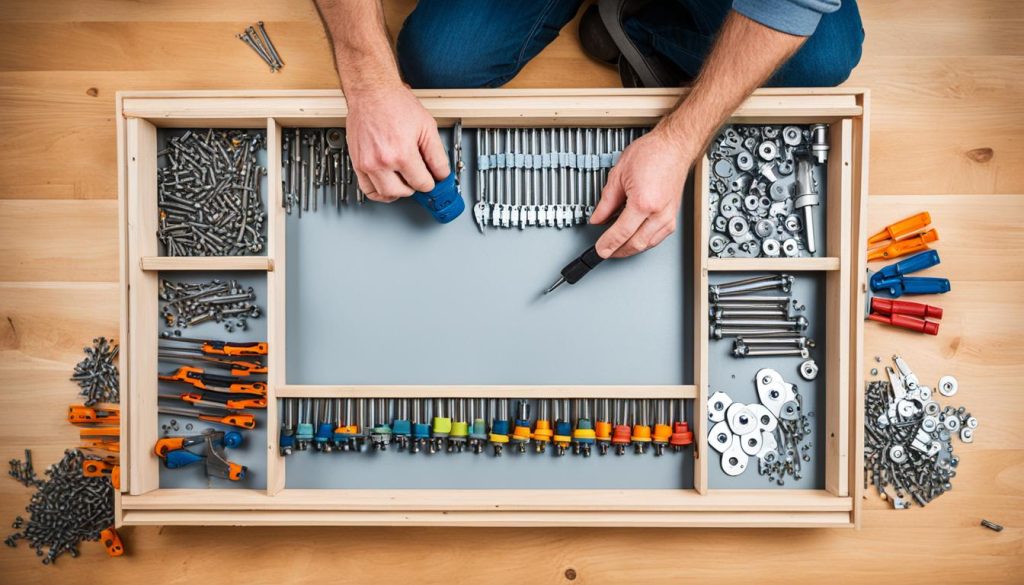
First, collect your materials. For a full-size loft bed (54″ x 75″), you’ll need plywood, lumber, screws, nails, wood filler, adhesive, caulk, primer, and paint. The cost can be between $200 and $800, depending on your design.
Start by cutting the lumber to the right size. Put the frame together, making sure all parts fit well. Add slats for the mattress to sit on. Then, build the legs and supports, making sure they can hold the bed’s weight.
- Install the ladder, choosing a design that fits your space
- Add safety features like guardrails
- Incorporate storage solutions under the bed
- Sand and paint for a polished finish
Think about adding a fold-down desk or custom headboard for extra functionality. Remember, being precise is important in building a loft bed. Take your time with measurements and putting it together for a safe, strong result.
I never thought I could build my own loft bed, but these DIY instructions made it possible. Now I have so much extra space in my room!
With patience and careful attention, you can finish this woodworking project in about two weeks. The end result? A custom loft bed that uses your space well and shows off your DIY skills.
Building the Bed Frame
Building the bed frame is a key part of making a DIY bed. Let’s look at how to build a strong loft bed framework. This will make sure your bed lasts a long time.
Cutting the Lumber
Begin by cutting your lumber to the right size. For a standard loft bed that’s 42″ wide by 81″ long, you need precise cuts. Use a circular saw for straight cuts. Always double-check your measurements before cutting.
Assembling the Frame
Next, it’s time to put the bed frame together. Use wood glue and screws to connect 2×6 boards. This makes the base of your loft bed. Make sure all joints are tight and level for stability.
Adding Support Slats
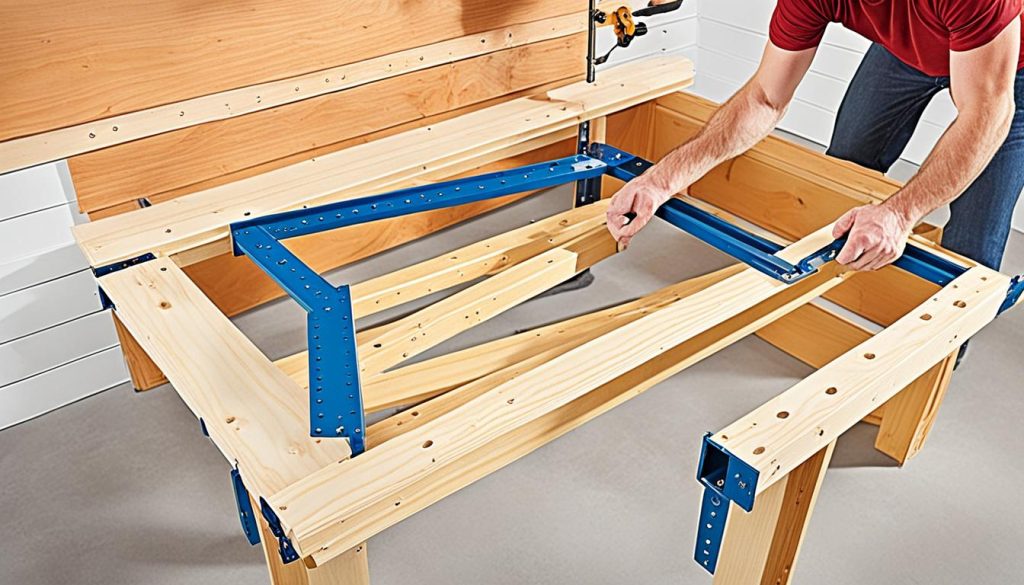
To make a solid sleeping surface, add 2×4 slats with joist hangers. Place them evenly across the frame. Then, put plywood sheets on top for a strong base for your mattress. This step is crucial for comfort and support in your DIY bed.
Remember, 100% of loft beds have extra space underneath. You might add storage or a desk area. With careful planning, your loft bed can make the most of any room’s space.
“A well-built loft bed frame is the foundation of a comfortable and functional sleeping space.”
By following these steps, you’re on your way to a custom loft bed that’s both strong and stylish. Take your time with each step for a safe and lasting result.
Constructing the Legs and Supports
Building strong loft bed supports is key for a stable DIY bed. Begin by making L-shaped legs with 2×6 and 2×4 boards. Cut them to the right size, then stick them together with wood glue and screws. This makes your bed frame stronger.
When putting on the bed frame legs, make sure they line up with the frame’s corners. Use a square to check they’re straight. Then, screw each leg down for extra stability. Getting the corners right is important for a solid loft bed.
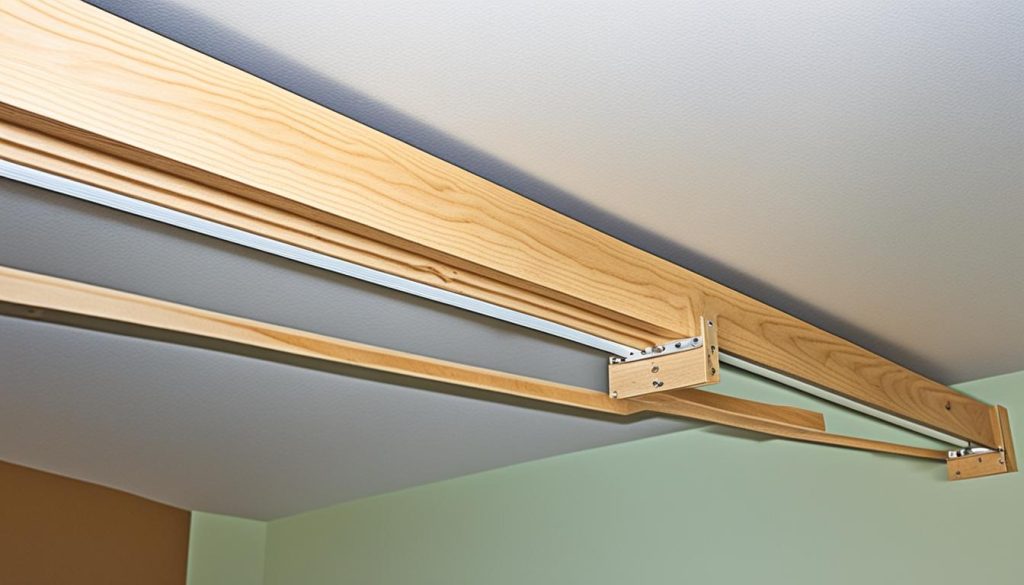
To make your loft bed even sturdier, add support beams between the legs. These beams spread the weight out and stop the bed from shaking. Clamp them in place before screwing them down. This makes your loft bed much more stable.
For even more strength, think about adding diagonal braces. These connect the legs to the frame, creating triangles that stop the bed from moving side to side. This is really helpful for tall loft beds or those for adults.
“I’ve built this loft bed design four or five times, and it’s always turned out great. The key is in the supports – they make all the difference in stability.”
Focus on building strong supports and securing the legs well to make a safe and stable loft bed. Spend time on this important step to make sure your DIY loft bed lasts a long time.
Installing the Ladder
A well-designed loft bed ladder is key for safe and easy access to your bed. Installing it yourself can greatly affect how well your loft bed works. Let’s look at some design options and how to attach them securely.
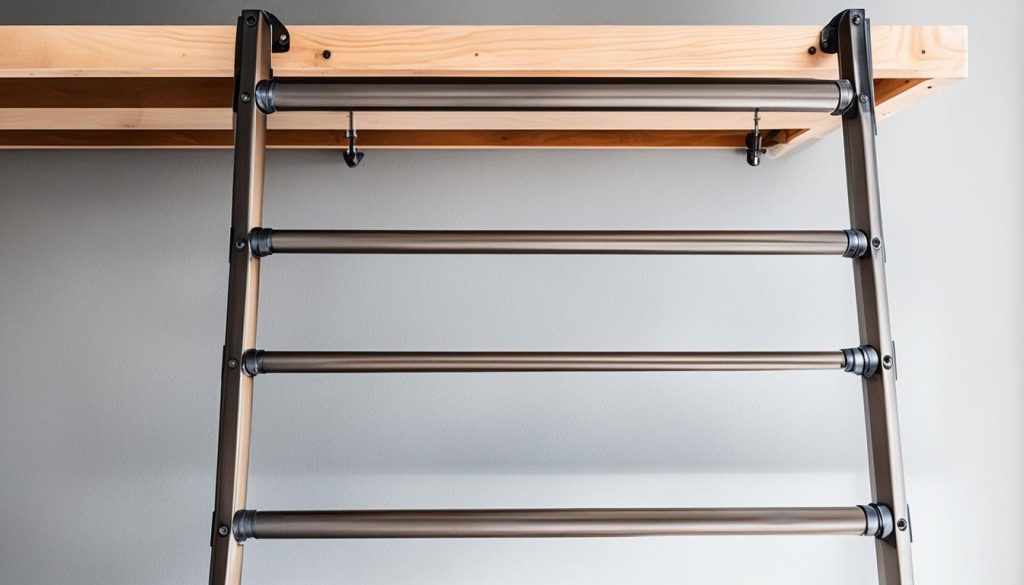
Ladder Design Options
Think about these design elements when making your loft bed ladder:
- Height: Aim for a ladder height of about 60 1/2 inches
- Angle: A 15-degree angle makes climbing easy without blocking doorways
- Steps: Use 5 steps, spaced about 9 3/4 inches apart
- Materials: Cut steps from 1×6 wood, 15 inches long and 4 inches wide
Attaching the Ladder Securely
Here’s how to install your ladder safely:
- Cut ladder rails from 2×4 boards, 59 inches long
- Secure steps with 1 1/4-inch finish nails and wood glue
- Attach a 14-inch piece of 1×4 between the top rails for mounting
- Use 4-inch deck screws to attach the ladder to the bed frame
- Apply wood filler to nail holes for a smooth finish
For flexibility, consider using removable bolts. This lets you move the ladder around as needed. Don’t forget to stain your ladder to match your bed frame. A Rustic Oak finish adds a warm, welcoming touch.
Adding Safety Features
Safety is key when making a custom loft bed. Adding bed guardrails and child safety features keeps your little one safe while they sleep or play. Let’s look at some important safety rail options for your DIY project.
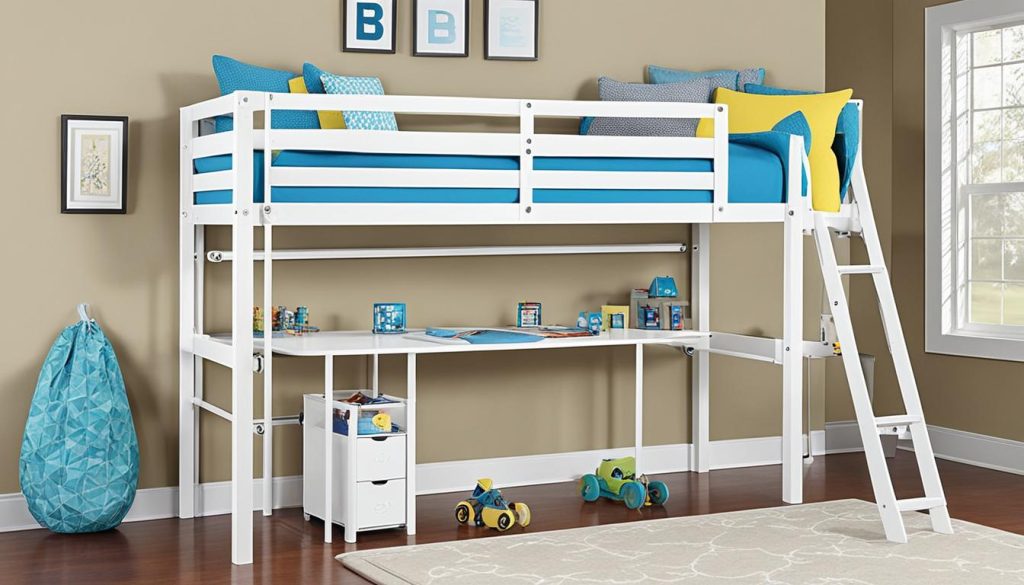
First, put up strong guardrails on all open sides of the loft bed. These rails must be at least 5 inches above the mattress to stop falls. Use 1×3 or 2×2 boards for the best safety. Attach them to vertical supports with bolts and screws for extra strength.
When making your guardrails, remember the gaps between them should be no more than 3.5 inches wide. This stops entrapment and makes sure your child can’t slip through. Safety rules say the gaps for loft beds should be less than 3.5 inches or more than 9 inches.
- Install full-length guard rails along the back of the bed
- Add a sturdy headboard to prevent pillows from falling
- Ensure the bed can withstand at least 400 pounds of weight
- Use manufacturer-approved products for additional rails or accessories
By adding these safety features, you’ll make a safe place for your kids to sleep. Remember, putting in loft bed safety rails is key to stopping the 36,000 bunk bed injuries that happen every year in the U.S.
Incorporating Storage Solutions
Loft beds are great for small rooms. They help you use every inch of space. Let’s look at some smart ways to add storage and organize under your bed.
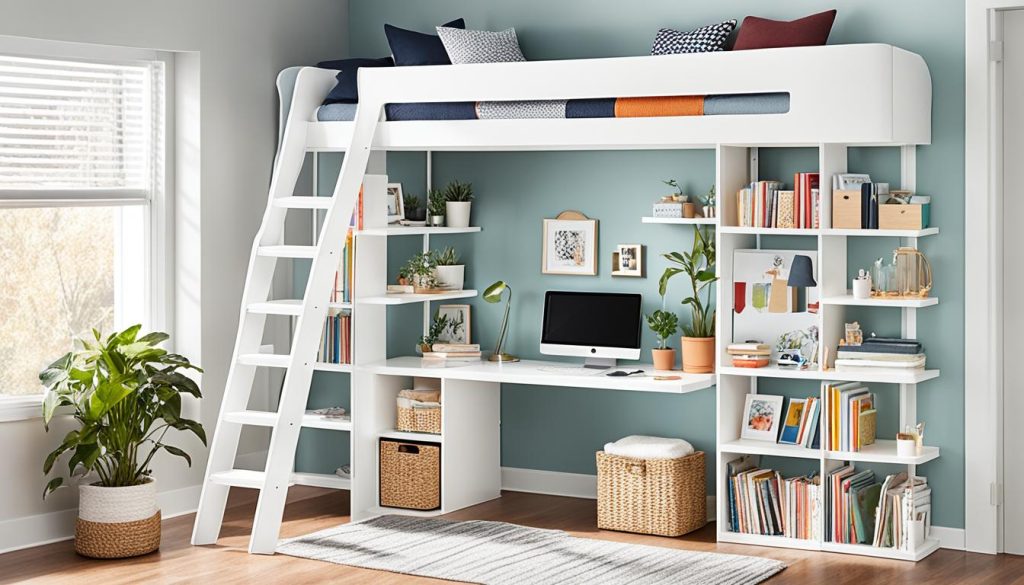
Under-bed Storage Ideas
The space under your loft bed is perfect for storing things. Here are some ideas for organizing it:
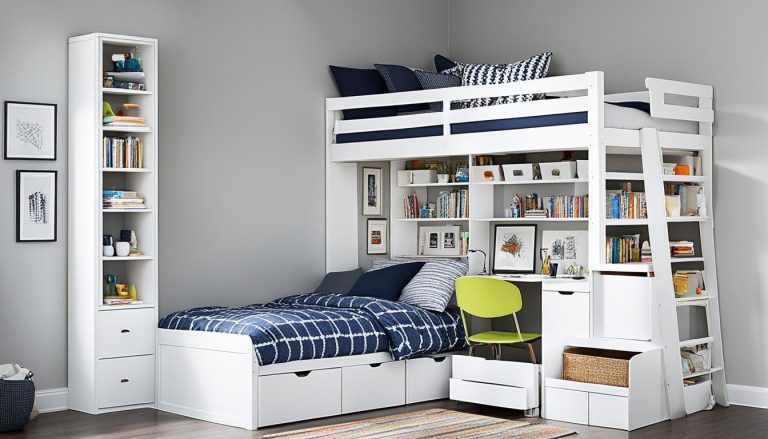
- Install drawers on wheels for easy access
- Use storage bins or baskets for a flexible setup
- Create a custom closet with hanging rods and shelves
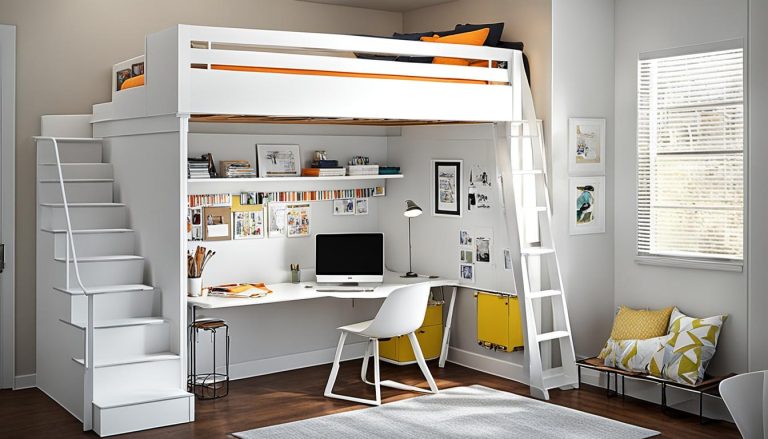
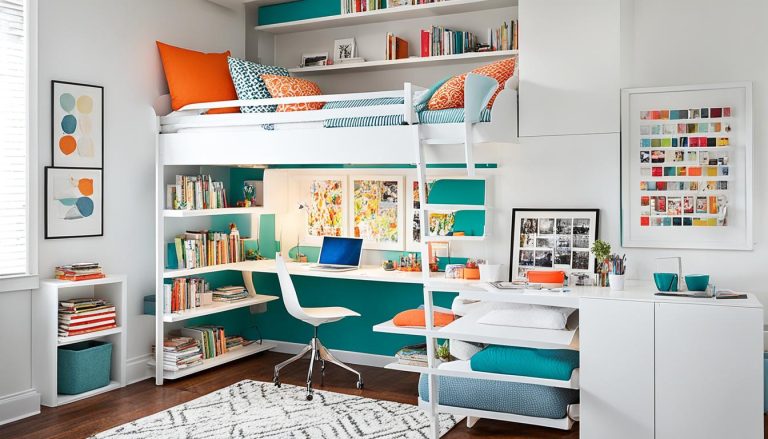
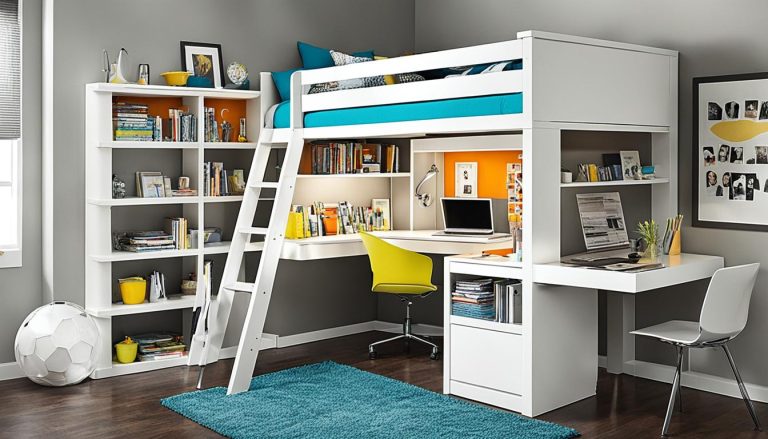
- Build a study nook with a desk and bookshelves
Built-in Shelving Options
Built-in shelves can make your loft bed look great and be useful. Here are some ideas:
- Add a bookshelf ladder for easy climbing and storage
- Install floating shelves on the bed frame for display items
- Create a headboard with integrated cubbies
- Mount pegboards for versatile storage options
Your loft bed can be tailored to your needs. Whether you need space for toys, school stuff, or clothes, there’s a solution for you. With creativity, you can make your loft bed a storage powerhouse. This way, you’ll use every inch of your room’s space.
Finishing Touches: Sanding and Painting
Get ready to transform your DIY bed with expert wood sanding techniques and furniture painting tips. Start by sanding all surfaces using 120-grit sandpaper, then move to 220-grit for a silky-smooth finish. Fill any holes or imperfections with wood filler for a flawless base.
For a durable finish, apply a high-quality primer from Home Depot. Two quick coats will prepare your surface for paint. Choose Behr alkyd satin enamel paint for its hard-drying properties, perfect for furniture. White is a popular choice – consider matching it to Benjamin Moore Chantilly Lace for a crisp, clean look.
When painting, cut in around edges with an angled brush, then use a small foam roller for the rest. Apply two thin coats for the best coverage. Remember, patience is key – let the paint cure for a few days before using your bed.
- Sand with 120-grit, then 220-grit sandpaper
- Apply two coats of high-quality primer
- Use Behr alkyd satin enamel paint
- Allow proper curing time
For added flair, consider decorative elements like trim or molding. These finishing touches will make your custom loft bed look fabulous. With these DIY bed finishing techniques, your bed will be both beautiful and built to last.
Optional Additions: Desk and Headboard
Take your loft bed to the next level with functional and stylish additions. A fold-down desk and custom headboard can transform your space. They make it both practical and visually appealing.
Building a Fold-Down Desk
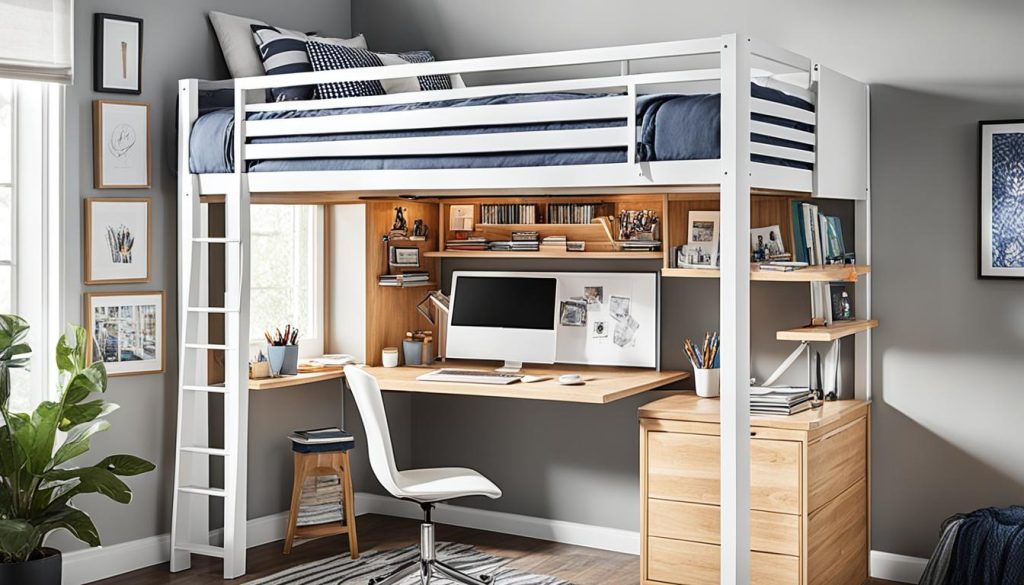
A loft bed with a desk is great for saving space. Use MDF or plywood for a sleek look. Attach it with sturdy hinges and supports for stability. Add a locking mechanism to keep it secure when not in use.
This clever fold-down furniture solution gives you a workspace that disappears when you need extra floor space.
Creating a Custom Headboard
Custom headboards add personality to your loft bed. Use tongue-and-groove boards for a rustic feel or upholstered panels for a cozy touch. Attach the headboard securely to the bed frame and wall studs for added stability.
This design element can tie your loft bed into your room’s decor. It also provides a comfortable backrest for reading or relaxing.
Remember, these additions should complement your loft bed’s design and enhance its functionality. With a bit of creativity, you can craft a unique sleeping and working space that fits your style and needs perfectly.
- Fold-down desk saves space when not in use
- Custom headboards personalize your loft bed
- Both additions increase the functionality of your space
“A well-designed loft bed with integrated features can transform a small room into a multi-functional living space.”
Tips for Customizing Your Loft Bed
Personalized loft beds let you make your bedroom your own. With some creative ideas, you can turn your loft bed into a space that shows off your style and fits your needs.
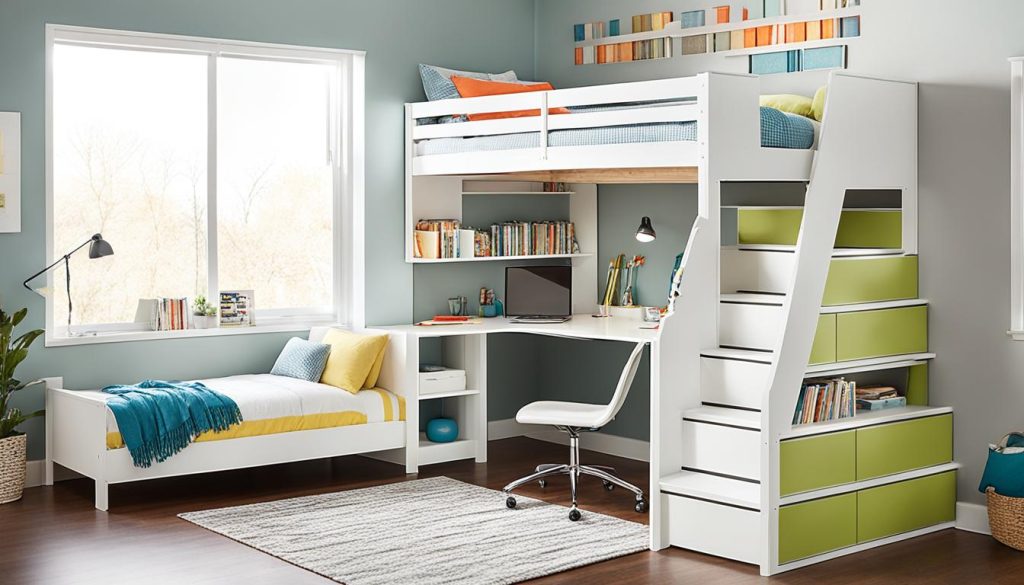
Adding built-in lighting is a great DIY project. Put a sconce above your bed for reading at night. For those who love tech, add USB ports to keep devices charged.
Here are ways to make your loft bed more fun:
- Add a slide for quick morning exits
- Hang curtains for privacy
- Create a canopy for a dreamy atmosphere
Think about using modular parts for your loft bed. This makes it easy to take apart and move, great for those who like to change things up often.
Let your personality shine with your color choices. Paint your loft bed to match your room’s look or pick bright colors that stand out. You can always repaint if you want to change things up.
“A loft bed isn’t just furniture; it’s a canvas for self-expression and functionality.”
Use smart storage to make the most of your space. Add shelves, drawers, or cubbies under your bed. If you’re into studying, a fold-down desk can save space while giving you a place to work.
The secret to a great customized bedroom is finding a balance between style and practicality. Your loft bed should look amazing and make your life better every day.
Final Thoughts
Creating a custom loft bed is a fun DIY project. It can turn your bedroom into a unique and useful space. With the right materials and about 20-30 hours of work, you can make a personalized sleeping area. This project costs between $350 to $450, which is cheaper than buying one.
After making your loft bed, it’s important to keep it in good shape. Check and tighten the hardware, look for any wear, and fix problems quickly. Doing this will make sure your loft bed stays strong and safe for a long time.
The best part of a DIY project is how you can change it as your needs change. You can add storage, include a desk, or change the height of your loft bed. By putting time and effort into this, you’ve not only changed your bedroom but also learned new woodworking skills. These skills can help with future home projects.

