DIY Bathroom Remodel: Transform Your Space Yourself
houseremodelingnews.com may earn a commission if you purchase a product through one of our links
Have you ever felt let down when you walked into your bathroom? I sure have. My bathroom was old and cramped, always reminding me of what could be. But one day, I decided to fix it myself. With determination and a $1000 budget, I started a DIY bathroom remodel that changed everything.
You might think redoing your bathroom is too hard, but it’s not. In 6 weeks, I turned my dull bathroom into a coastal farmhouse chic oasis. I learned new skills and saved thousands doing it myself. Many homeowners are finding joy and satisfaction in DIY bathroom makeovers.
This guide will show you how to redo your bathroom on a budget. You’ll learn to create a beautiful design, use your space well, and get professional-looking results without spending a lot. Get ready to get your hands dirty and give your bathroom a new life!
Introduction to DIY Bathroom Remodeling
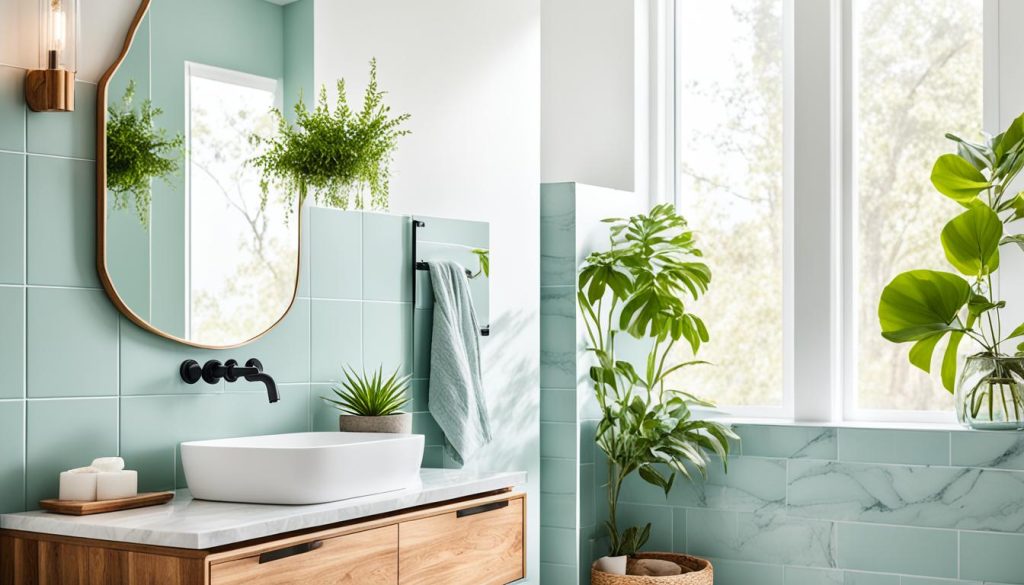
Starting a DIY bathroom remodel is a fun way to improve your home. Bathrooms are great for renovations because they’re small and you can save money. By doing it yourself, you can cut costs by thousands compared to hiring professionals.
A smart DIY remodel can change your bathroom without costing a lot. Think about painting, swapping out hardware, and refinishing fixtures for budget-friendly updates. These changes can make a big difference.
Before you begin, keep these tips in mind:
- Set a realistic budget for materials and tools
- Research permit requirements for your area
- Plan your design and create a timeline
- Gather essential tools and safety equipment
Some tasks might need a pro. Things like complex plumbing or electrical work are best left to experts. But, many parts of bathroom remodeling can be done by you and still look great.
“A bathroom renovation is like a mini home makeover. It’s a chance to express your style and boost your home’s value.”
With the right plan and effort, your DIY bathroom remodel will be rewarding. You’ll learn new skills, save money, and end up with a bathroom you’ll enjoy for years.
Planning Your Bathroom Renovation
Are you ready to make your bathroom dreams come true? Let’s explore the exciting world of bathroom design inspiration! Planning is crucial for a successful remodel, whether you’re working on a small bathroom or looking for budget-friendly ideas.
Setting a Budget
First, figure out how much you can spend. A minor makeover can cost between $200 and $5,000. A full remodel might go over $15,000. On average, you’ll spend about $125 per square foot.
Choosing a Design Theme
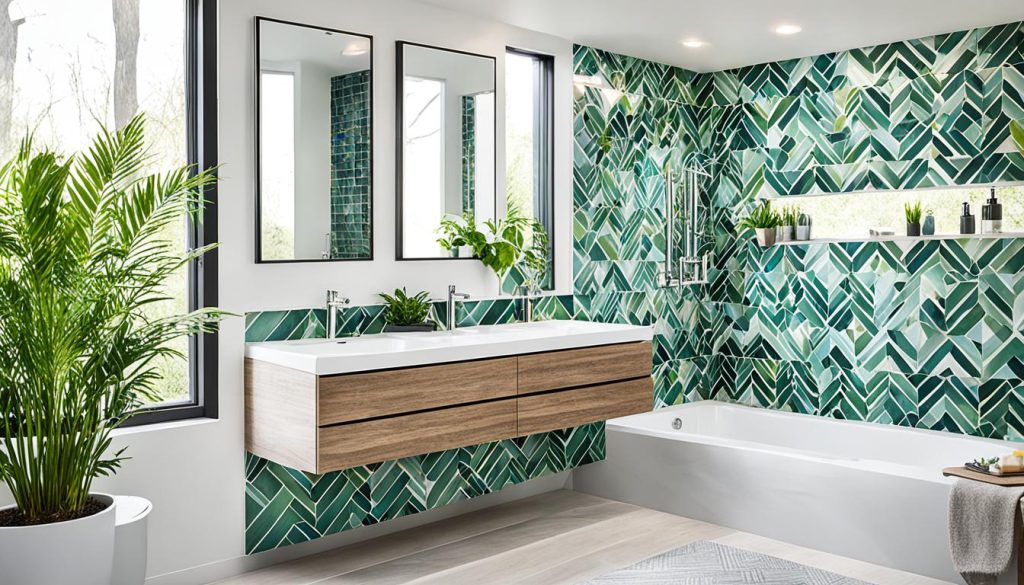
Next, pick a theme that matches your style. Themes range from rustic farmhouse to sleek modern. For small bathrooms, use light colors and space-saving fixtures to make it look bigger.
Creating a Mood Board
Use a mood board to visualize your plan. Gather images of tiles, fixtures, and colors you adore. This way, you can see how everything fits together before buying anything. With careful planning, you can transform your bathroom beautifully without spending too much.
- Research prices online and in stores
- Look for budget-friendly alternatives to pricey materials
- Consider DIY options for some parts of your remodel
With these steps, you’re on your way to creating the bathroom of your dreams. Happy planning!
Essential Tools and Materials for Your Remodel
Starting a bathroom remodel means you need the right tools and materials. You’ll need safety gear, basic hand tools, and specialized equipment for tiling and plumbing. Let’s look at what you’ll need to begin.
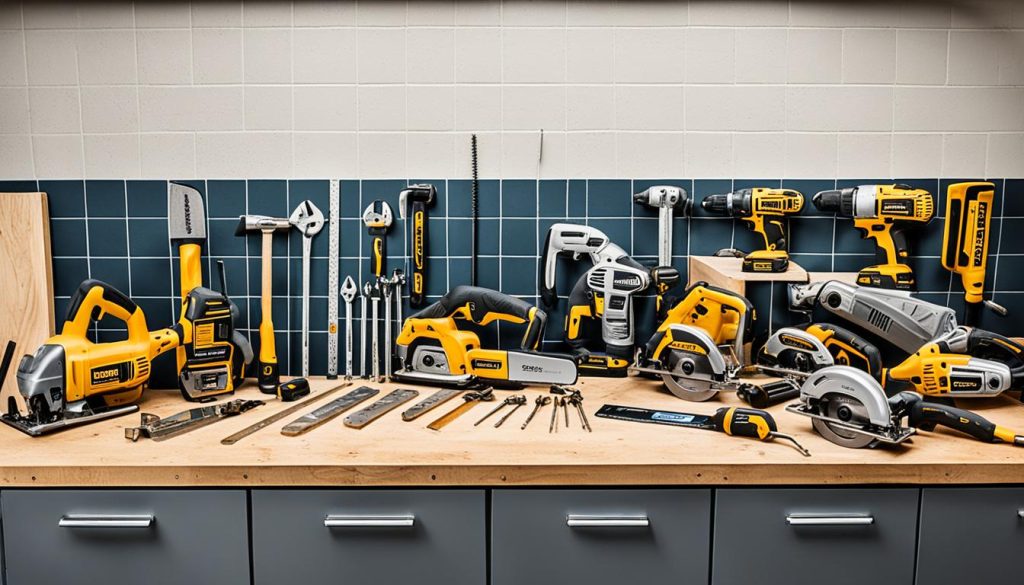
For tearing down and preparing, get a hammer, pry bar, and utility knife. A wet-dry Shop-Vac is useful for cleaning up. Renting a dumpster can also save you time during this step. For changing fixtures, you’ll need an adjustable wrench, screwdrivers, and a hacksaw.
For tiling, you’ll need a tile cutter, trowels, and spacers. The Montolit Tile Cutter is great for cutting tiles up to 25 inches. Pro Knees kneepads are also a must to protect your knees during long tiling tasks.
- Safety gear: dust mask, gloves, goggles
- Measuring tools: tape measure, level, chalk line
- Power tools: drill, sander (consider renting these)
- Plumbing essentials: pipe cutter, plumber’s tape
For plumbing, a Rigid Tubing Cutter makes cutting PEX easy. Always put the toilet back last to avoid any damage. When painting, choose a semi-gloss finish. It’s easy to clean and resists mold.
Pro Tip: Use code BATHROOMREMODEL for a 10% discount on the Original Bucketsaver, perfect for mixing grout and mortar.
Having these tools ready before you start will help you succeed in your bathroom makeover. With the right gear, you can confidently handle everything from simple updates to full overhauls.
Demolition: Preparing Your Bathroom for Renovation
Are you ready to start your budget remodel? The demolition phase is key for a successful contractor-free remodel. Let’s go through the steps to get your bathroom ready for a stunning change.
Removing Fixtures and Fittings
Start by clearing your bathroom. Take out the shower curtain, trash can, and towels. Then, remove the big items. The toilet is easy to take out, taking about 30 minutes. Remember to cover the hole underneath!
For the vanity and sink, here’s what to do:
- Shut off water supply
- Disconnect plumbing
- Remove drawers and doors
- Unscrew the vanity from the wall
Stripping Walls and Floors
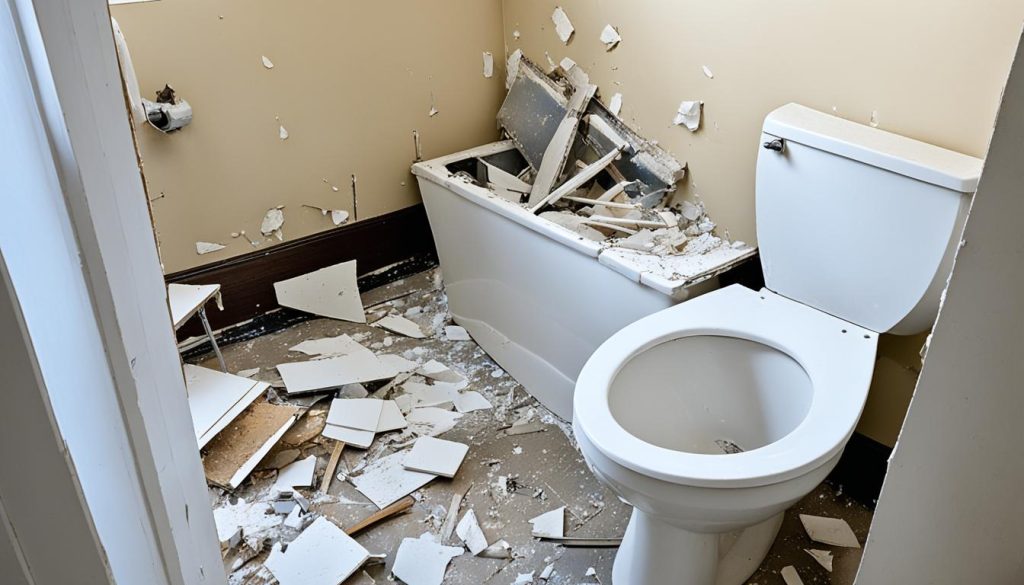
Removing tiles is a big part of your home improvement. For floor tiles, use a chisel and hammer. Wall tiles might need a reciprocating saw. Make sure to cover your bathtub and plug the drain to protect them during this step.
Safety Considerations During Demolition
Safety is crucial in any DIY bathroom remodel. Wear goggles, a hard hat, face mask, and heavy-duty gloves. Use knee pads for comfort. Cover vents and the door with plastic sheeting to keep dust in. Don’t forget to turn off power at the breaker box.
“Prioritize safety while removing bathroom fixtures. It’s the foundation of a successful renovation.”
Plan for a 2-day demolition. Start the noisy work after 9:30 am on weekends to think of your neighbors. Rent a dumpster for easy debris removal. With these tips, you’re ready for a smooth demolition phase in your bathroom renovation!
Updating Plumbing and Electrical Systems
Updating your bathroom’s plumbing and electrical can seem tough. Many homeowners find these tasks hard, but with good planning, you can do them well. Let’s look at some important things to think about for these updates in your DIY projects.
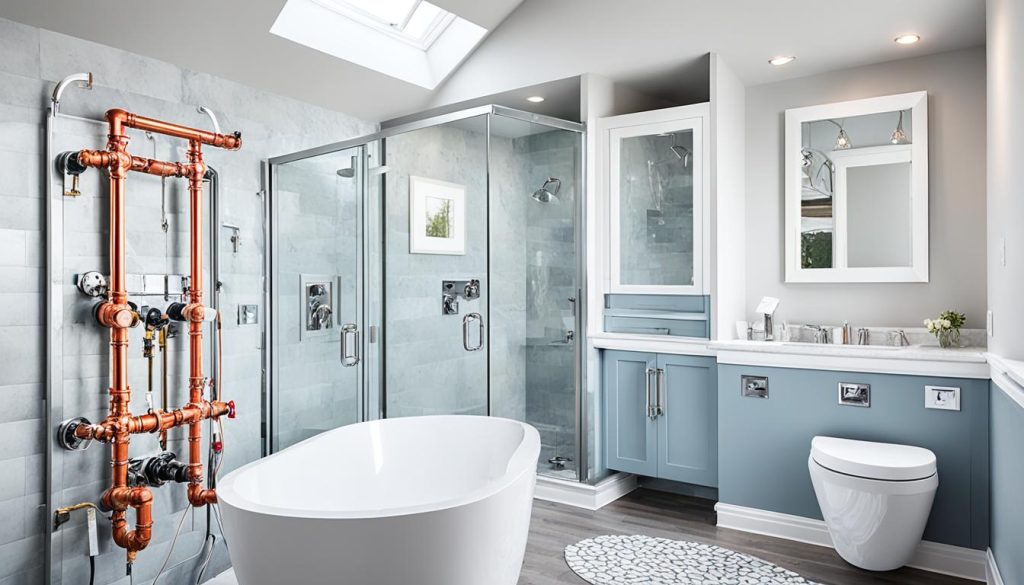
Plumbing updates often mean moving fixtures or adding new ones. For example, moving bathroom plumbing a few feet cost one homeowner $2,000. But, a local plumber found a simple way to center the vanity without big problems.
Electrical work must focus on safety. Older homes might need full rewiring in bathrooms. For complex tasks like installing new lighting or adding outlets, it’s best to hire a pro. A homeowner got a recommended electrician who quickly set up two electrical boxes for sconces by the mirror.
- Assess your current plumbing and electrical systems
- Mark utility locations to avoid damage
- Consider upgrading your electrical panel
- Install GFCI outlets in water-prone areas
- Add modern features like USB ports or Bluetooth speakers
While DIY projects can save money, some tasks need a pro’s touch. Electrical work often means opening walls to connect wires, which is risky for beginners. Always put safety first and think about your skills before taking on complex plumbing or electrical tasks in your bathroom remodel.
Installing New Flooring
Choosing the right flooring is key in your DIY bathroom remodel. It affects both the look and how well the space works. Let’s look at popular choices and tips for installing them.
Selecting Your Flooring Material
Bathroom floors must handle moisture and cleaning well. Here are some top picks:
- Ceramic and porcelain tiles
- Vinyl flooring
- Waterproof laminate
- Natural stone
Vinyl tile flooring is a smart choice for those on a budget. It’s durable and stylish, making it easy to install yourself. It’s also cheaper than pricier options.
DIY Tile Installation Guide
For tiling, here’s what to do:
- Plan your layout
- Install underlayment
- Apply tile adhesive
- Lay tiles
- Cut tiles as needed
- Apply grout
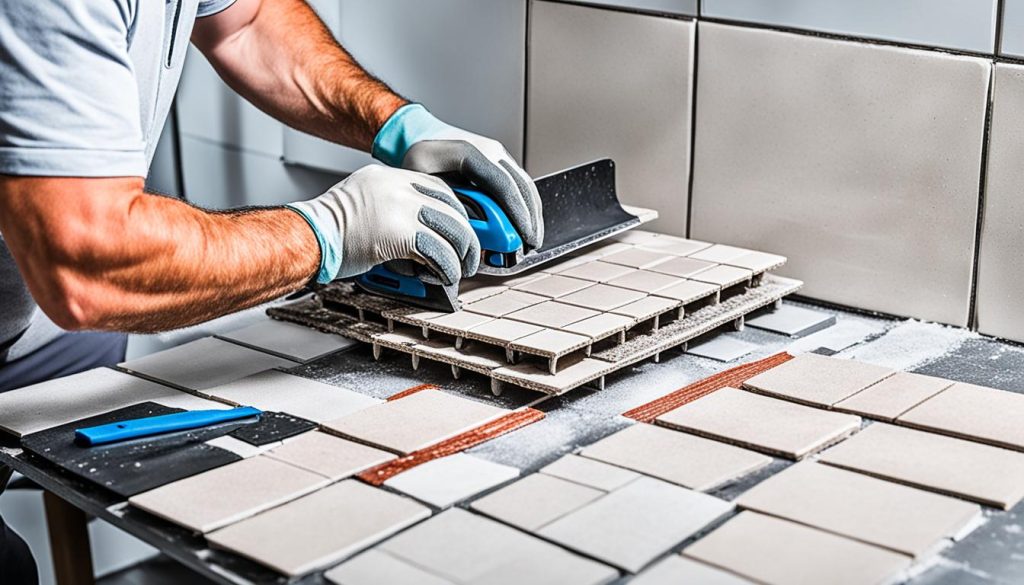
For vinyl flooring, start by cutting the flooring to fit. Then, apply adhesive, place the flooring, and trim edges. Waterproof laminate needs underlayment and planks that lock together.
Waterproofing Considerations
Waterproofing is crucial in bathrooms. Use a waterproofing membrane on shower walls for protection. For tiling, a tile adhesive mat helps keep water out.
While DIY can save money, some jobs need pros. If you’re dealing with complex layouts, damaged floors, or moving plumbing, experts are best. They ensure your work lasts and looks great.
Revamping Walls: Painting and Tiling
Ready to give your bathroom walls a fresh look? Check out these diy projects that mix style with function. Begin by prepping your walls with drywall mud and tape to cover seams and fill gaps. For shower areas, install cement board and apply a waterproofing membrane for extra protection.
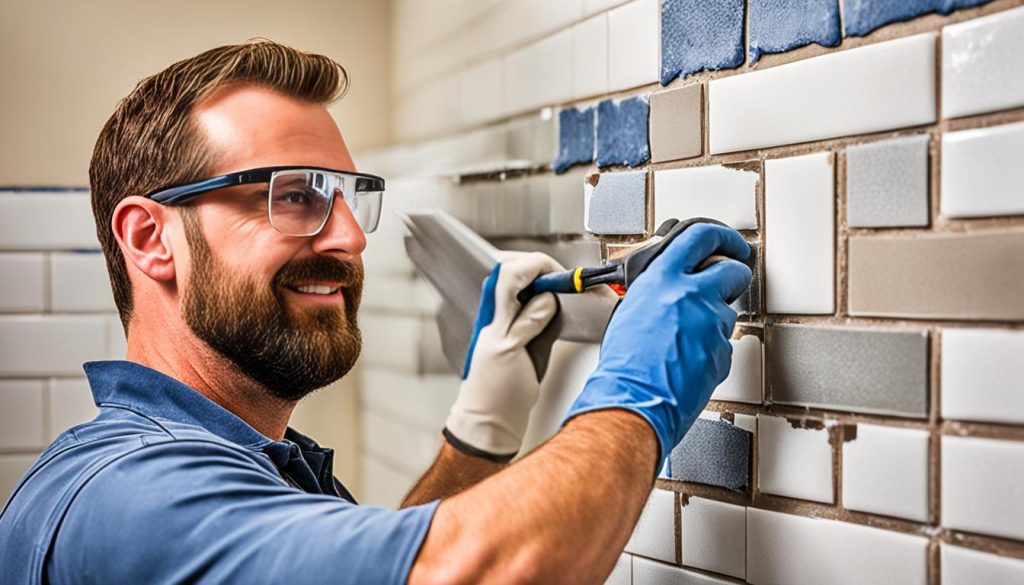
Choose semi-gloss finishes for paint. They’re easy to clean and fight mold well, ideal for humid bathrooms. Feeling adventurous? Try a statement wallpaper to make a bold statement. Lighter shades can make small bathrooms look bigger.
Tiling your bathroom is a great diy project. Start from the center and move outwards. Use spacers for even grout lines for a pro look. After finishing, seal the grout to stop water damage and stains.
A fresh coat of paint or new tiles can completely change the look of your bathroom without breaking the bank.
For bathroom design inspiration, mix different materials. Combine sleek tiles with textured wallpaper or pair painted walls with a tiled backsplash. Aim for a look that shows off your style and uses the room well.
- Clean and sand surfaces before painting or tiling
- Use moisture-resistant materials in wet areas
- Consider an accent wall for added visual interest
- Don’t forget to ventilate the space while working
With these tips, you’re set to revamp your bathroom walls. Remember, patience and careful work will give you a pro finish you’ll enjoy for years.
DIY Bathroom Remodel: Transforming Your Space
Want to refresh your bathroom? A DIY remodel can save money and let you customize it. Let’s explore some exciting ways to change your bathroom.
Installing a New Vanity
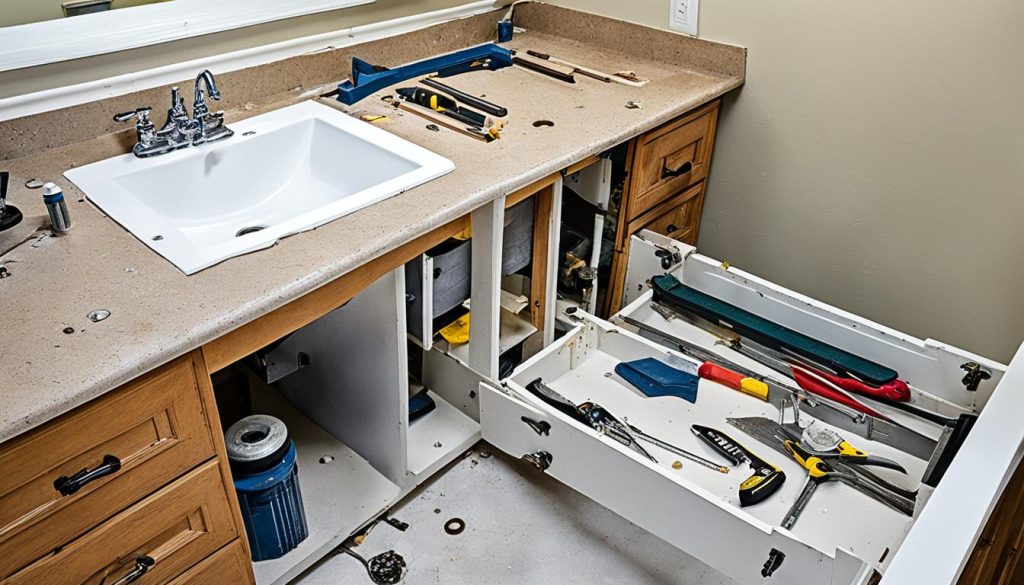
Replacing your vanity can make a big difference. Pick a style that matches your theme and budget. Make sure to measure before you buy.
Start by installing the vanity and connecting the sink and faucet. Paint the old cabinets and add new hardware for a budget-friendly update.
Upgrading Your Shower or Bathtub
Remodeling your shower can change everything. Think about turning your tub into a walk-in shower for a modern feel. Choose a shower pan that suits your space and style.
If you’re watching your budget, try these DIY tricks:
- Paint your bathtub and shower for just $50
- Apply peel-and-stick tiles for a fresh look
- Update shower hardware for an instant upgrade
Adding Storage Solutions
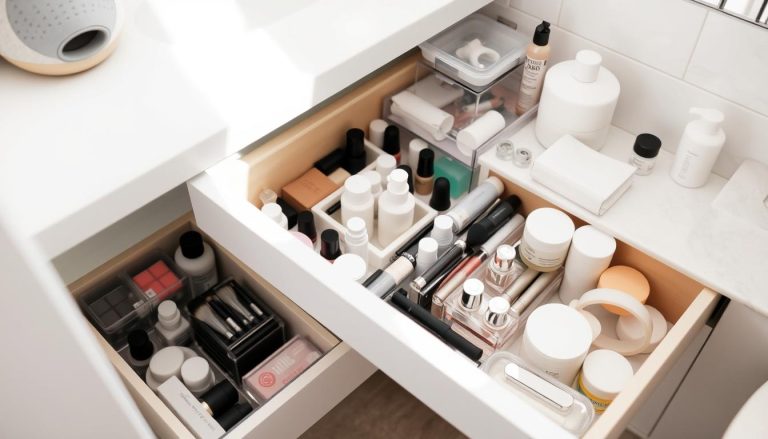
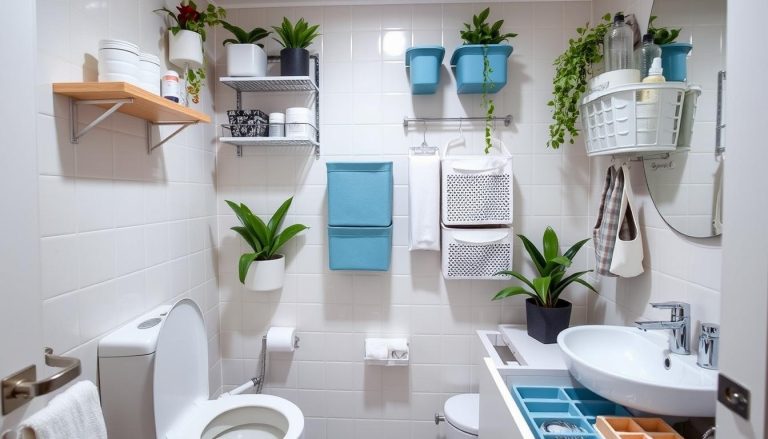
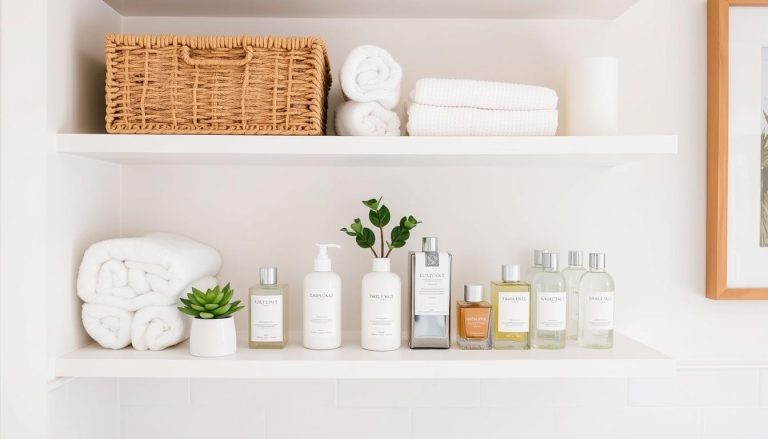
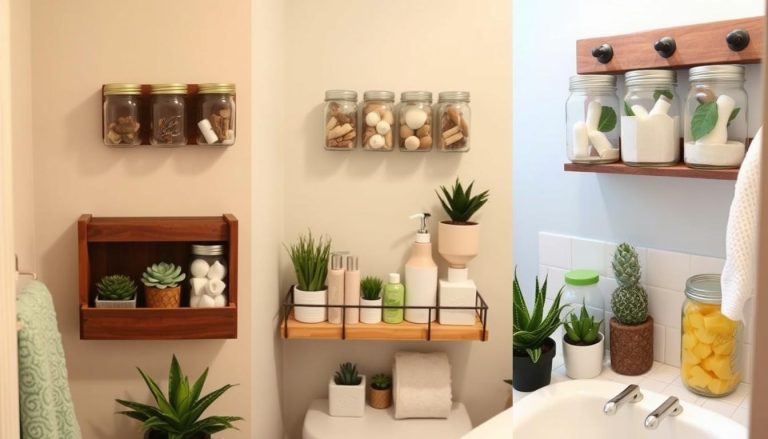
Smart storage solutions can make your bathroom look better. Install floating shelves or a medicine cabinet for more storage. Use baskets or decorative containers to keep things tidy.
Don’t forget about over-the-toilet storage units for saving vertical space.
With these DIY tips, you can make your bathroom look amazing without spending a lot. A bit of creativity and hard work can turn your space into a personal oasis.
Lighting and Fixtures: Elevating Your Bathroom’s Ambiance
Make your bathroom a luxurious retreat with the right lighting and fixtures. Start with ambient lighting for overall illumination. Then, add task lighting around your vanities for precise grooming. Finally, use accent lighting to highlight special features.
When picking bathroom lighting fixtures, think about style and function. Modern fixtures can make your space look contemporary. Vintage or ornate options add elegance. Make sure all fixtures are rated for damp or wet locations for safety.
Install dimmer switches for flexibility. They let you control the lighting intensity for any mood. Smart dimmers can also save energy by up to 15%.
- Wall sconces: Ideal for framing vanities
- Flush mounts: Great for overall lighting in smaller spaces
- Hanging lights: Perfect for adding drama to larger bathrooms
- Recessed fixtures: Provide subtle, focused illumination
Don’t forget about natural light! Bigger windows or mirrors can increase your property value by 10-15%. For a softer glow, try frosted glass or sheer curtains to diffuse the light.
Lastly, think about the finishing touches. LED backlit mirrors are popular, offering both functionality and style. For a luxurious touch, consider a chandelier or pendant light as a statement piece. These are 25% of upscale lighting choices in high-end bathrooms.
Budget-Friendly Tips for a High-End Look
Transform your bathroom without spending a lot. A budget makeover can make your space look luxurious without costing much. Let’s look at some smart ways to improve your bathroom’s look without spending a lot.
Repurposing and Upcycling Ideas
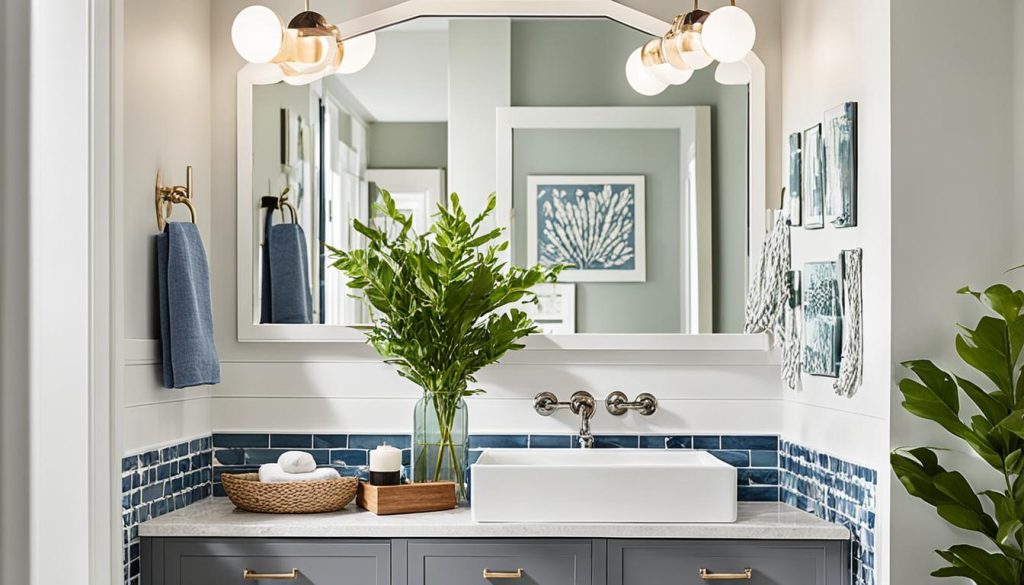
Be creative with old bathroom fixtures. Paint your vanity for a new look. One homeowner spent just $20 on a fresh coat of paint with Studio Clay by Sherwin Williams.
Change cabinet hardware with affordable wood knobs for a quick update.
Affordable Alternatives to Expensive Materials
Try peel-and-stick tiles for an easy flooring update. They’re tough and come in many patterns. For countertops, use appliance epoxy, which costs just $3 and can change a guest bathroom.
Bathtub refinishing is another way to save money and update your space.
DIY Decor Projects
Make your own decor to save money. Frame your mirror for a fancy look. Adding beadboard backsplash is a bit tough but worth it.
Refresh grout for $15-$30, which takes 3-8 hours. Install new shelving or a sink skirt for more storage.
“Quality materials like wood, glass, and metal can give an elevated look without overspending.”
Small changes can make a big impact. Swap out towel hooks, toilet paper holders, and light covers. Add a wooden stool or canvas art for style. With these tips, you can get a high-end look on a budget.
Common Mistakes to Avoid in DIY Bathroom Remodeling
Starting a diy bathroom remodel can be thrilling, but it’s easy to make mistakes. Many homeowners run into common issues that can mess up their projects. Let’s look at some mistakes to avoid in your budget remodeling.
One big mistake is forgetting to waterproof the area. This can cause expensive water damage later. Another error is not planning for enough ventilation, leading to mold and mildew. Not having enough lighting is also a common issue, affecting both function and look.
Don’t rush the planning stage. Take your time to research and make a detailed plan before starting your diy bathroom remodel. Don’t cut corners on important items like plumbing fixtures or tiles. Remember, saving money upfront often ends up costing more later.
- Overlooking storage needs
- Choosing trendy over timeless designs
- Ignoring future accessibility requirements
- Installing slippery floor tiles
- Leaving tile edges exposed in shower niches
Be honest about your DIY skills. Some tasks, like big plumbing changes, are best left to pros. Plan for unexpected costs that might come up during your project. By avoiding these mistakes, you’ll be on your way to a successful bathroom update.
“Make bigger, more permanent items classic and trendier ones easier to change. The goal is longevity without needing another remodel for at least five years.”
Finishing Touches: Accessories and Styling
Your bathroom remodel is almost done! It’s time to add the final touches that make it pop. Let’s see how to enhance your space with the right bathroom decor and accessories.
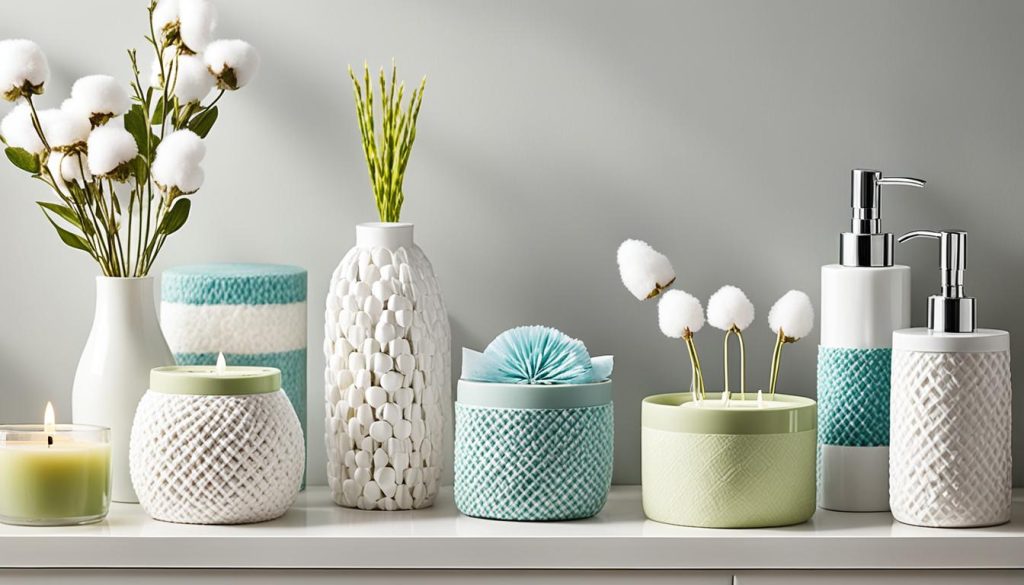
Begin by refreshing your vanity. Paint it with ProClassic by Sherwin Williams for a sleek finish. Add a white subway tile backsplash for a timeless look. Pick a mirror that matches your style but won’t break the bank.
Then, think about storage and practicality. Add a wooden shelf for toothbrushes and a rope basket under the sink for more space. Make sure to put a non-slip mat under your new rug for safety.
- Hang woven tassel towels for a modern Boho vibe
- Use bamboo toothbrushes for an eco-friendly touch
- Install stylish shower curtain hardware that fits your aesthetic
When choosing shower enclosures, consider glass for a light and airy feel. If you like curtains, pick a style that matches your bathroom’s theme.
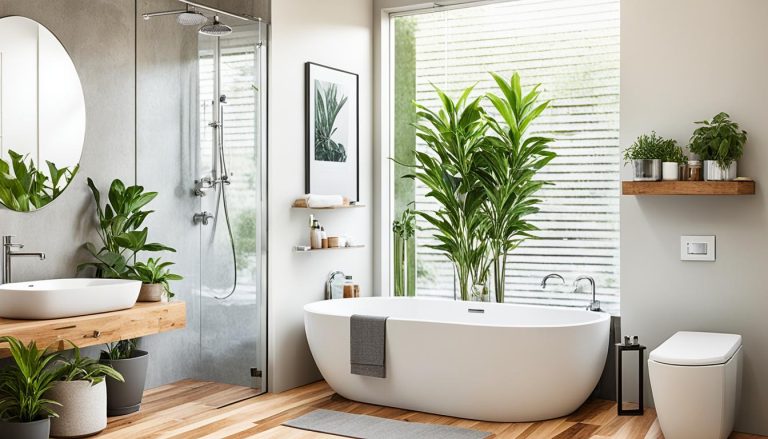
Add personality with art, signs, or plants. Faux plants are great for bathrooms with little sunlight. Remember, using consistent colors and materials makes your space look put together and welcoming.
“Your bathroom should reflect your personal style while maintaining functionality. Don’t be afraid to mix high-end pieces with budget-friendly finds for a curated look.”
With these final touches, your DIY bathroom remodel is finished. Step back and enjoy your new stylish and useful bathroom!
Final Thoughts
Starting a DIY bathroom remodel can be a fulfilling journey in home improvement. With careful planning and execution, you can change your space without spending a lot. A budget bathroom makeover saves money and lets you customize every detail to your taste.
Remember, patience is crucial in any renovation project. From picking the right materials to learning new skills like tiling, each step gets you closer to your dream bathroom. Don’t be afraid to get creative – using old items or adding personal touches like custom artwork can make your space stand out.
When you finish your DIY bathroom remodel, be proud of what you’ve done. You’ve not only improved your daily living space but also raised your home’s value. The skills and confidence you gain from this project will help you in future home improvements. So go ahead, enjoy your newly renovated bathroom – you’ve earned it!

