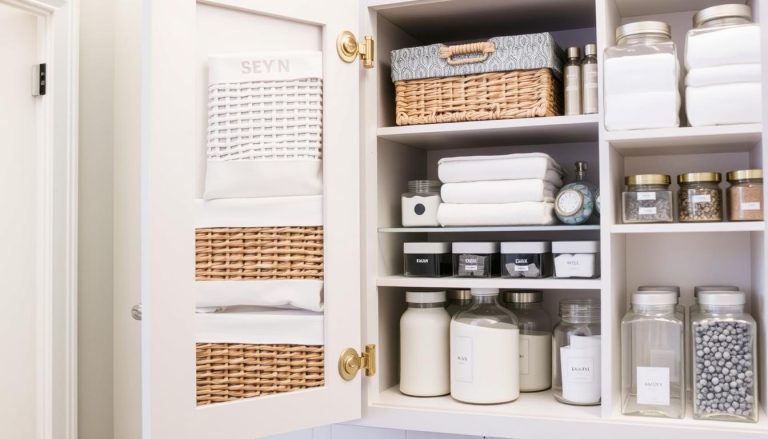
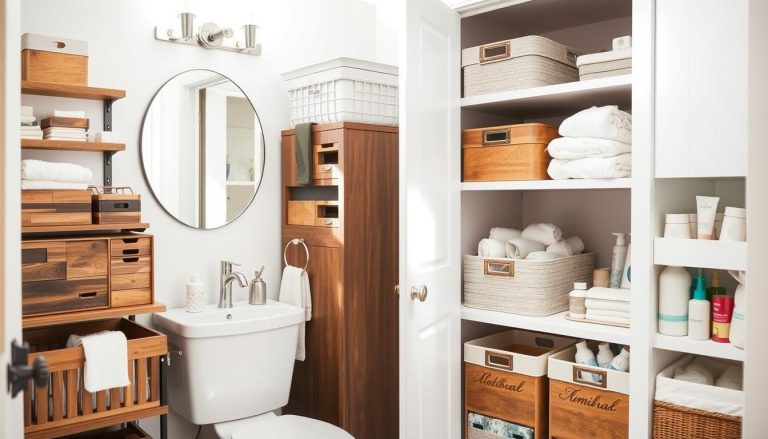
Build Your Own Shelves to Enhance Bathroom Storage: A DIY Guide
houseremodelingnews.com may earn a commission if you purchase a product through one of our links
Ever felt frustrated searching through cluttered bathroom drawers? I have too. That’s why I took on a DIY shelving project to solve my storage problems. The change was amazing, and I’m here to share it with you.
Building custom shelves isn’t just about cleaning up. It’s about making a space that fits your needs. Whether your bathroom is small or large, DIY shelves can make a big difference. Let’s explore how to turn your bathroom into a tidy haven.
This project is more than just building with wood. It’s about making your space better, using every inch, and creating storage that suits your life. With simple tools and creativity, you can turn any bathroom into a stylish, efficient spot.
Are you ready to start this rewarding project? Excellent! We’ll go through making custom bathroom shelving units. These will not only solve your storage issues but also add a personal touch to your home.
Key Takeaways
- DIY bathroom shelves can be completed in about 6 hours
- The project costs around $78, or $55 with some materials on hand
- Custom shelves offer practical storage and improve bathroom aesthetics
- Basic tools like a miter saw, drill, and sanding sponge are essential
- The project is moderately difficult, rated 3 out of 5 in skill level
- Open shelves can replace impractical cabinets for better functionality
- Customization allows for tailoring the shelves to your specific space
Introduction to Bathroom Storage Solutions
Bathroom organization ideas are key to a functional bathroom. With the right solutions, you can turn a cluttered space into a peaceful oasis. Let’s see how custom-built shelves can change your bathroom storage.
The importance of efficient bathroom organization
A well-organized bathroom makes your daily routine better and calmer. Smart storage solutions help you use space well and keep things handy. This not only makes your bathroom more useful but also looks better.
Benefits of custom-built shelves
Custom-built shelves are made just for you, fitting your exact needs. They’re great for small bathrooms because they use vertical space. These shelves can fit into tight spots or over fixtures, offering storage where others can’t.
| Benefits | Description |
|---|---|
| Maximized Space | Custom shelves use vertical space effectively |
| Personalized Design | Tailored to fit your bathroom’s layout |
| Increased Storage | More room for toiletries and essentials |
| Enhanced Aesthetics | Adds a personal touch to your bathroom |
Overview of the DIY project
Building your own bathroom shelves is a fun DIY project. First, you’ll figure out your space and what you need to store. Then, you’ll design shelves that match your bathroom’s look. You’ll pick materials, tools, and follow steps to build and install them.
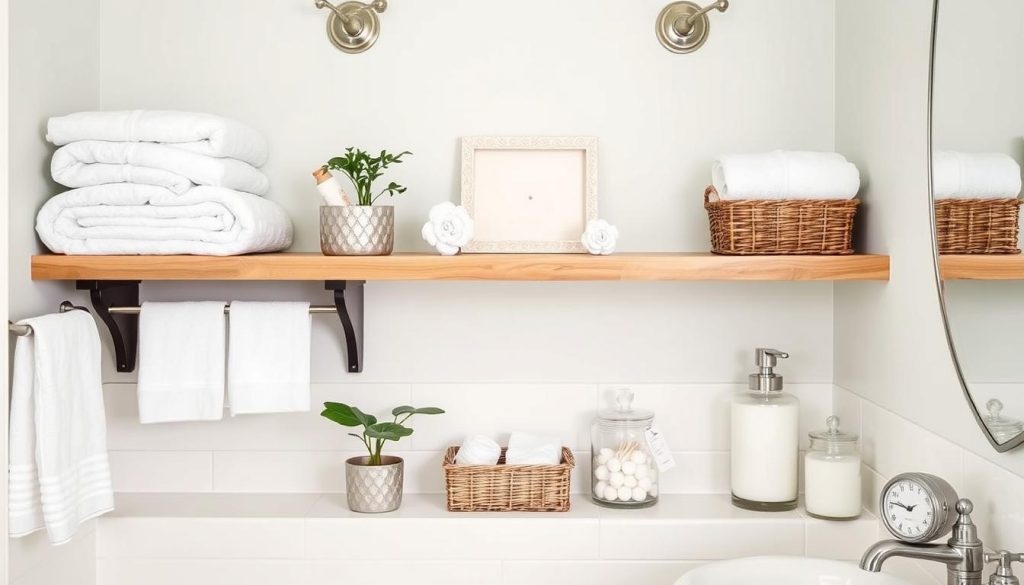
This DIY project lets you make your bathroom more organized and efficient. By following our guide, you’ll turn your bathroom into a space that’s just right for you.
Assessing Your Bathroom Space
Before starting your small bathroom organization project, it’s key to check your space. This step is the base for effective decluttering and finding space-saving solutions.
Measuring Available Wall Space
Begin by measuring your bathroom walls. Use a tape measure to get the dimensions of areas for shelves. Look above toilets, sinks, and in corners for storage spots.
Identifying Problem Areas and Storage Needs
Look closely at your bathroom to find what needs better organization. Are your countertops messy? Is your shower full of products? List items that need homes and areas needing more storage.
- Toiletries and cosmetics
- Towels and washcloths
- Cleaning supplies
- Toilet paper and tissues
Considering Existing Fixtures and Obstacles
Notice the location of sinks, toilets, and showers. These will affect where you can put shelves. Remember doors, windows, and outlets that might block shelf placement.
| Space-Saving Solution | Benefit |
|---|---|
| Over-toilet shelving | Uses vertical space |
| Corner shelves | Maximizes awkward spaces |
| Hanging baskets | Adds storage without drilling |
| Shower caddies | Organizes bath products |
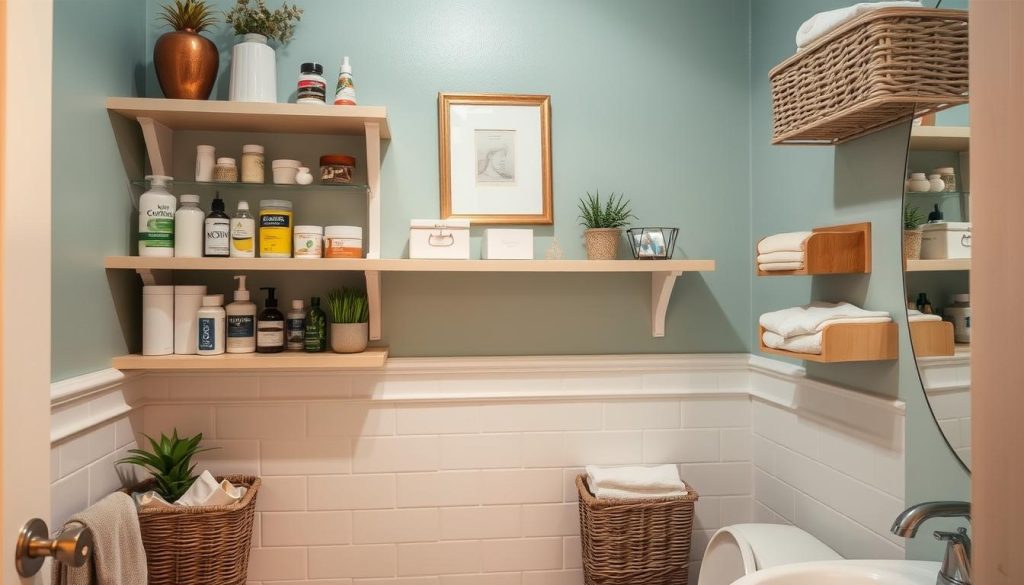
By carefully checking your bathroom space, you’re ready to plan custom storage. This prep ensures your DIY shelving will make your bathroom tidy and organized.
Designing Your Custom Bathroom Shelves
Creating bathroom shelf plans that fit your space and style is key. Start by sketching your ideas. Think about both open shelving and hidden storage options. This helps you see how your shelves will look and work.
When designing modern bathroom shelves, think about what you’ll store. Measure your toiletries, towels, and decorative pieces. This helps you figure out the best shelf spacing for your needs.
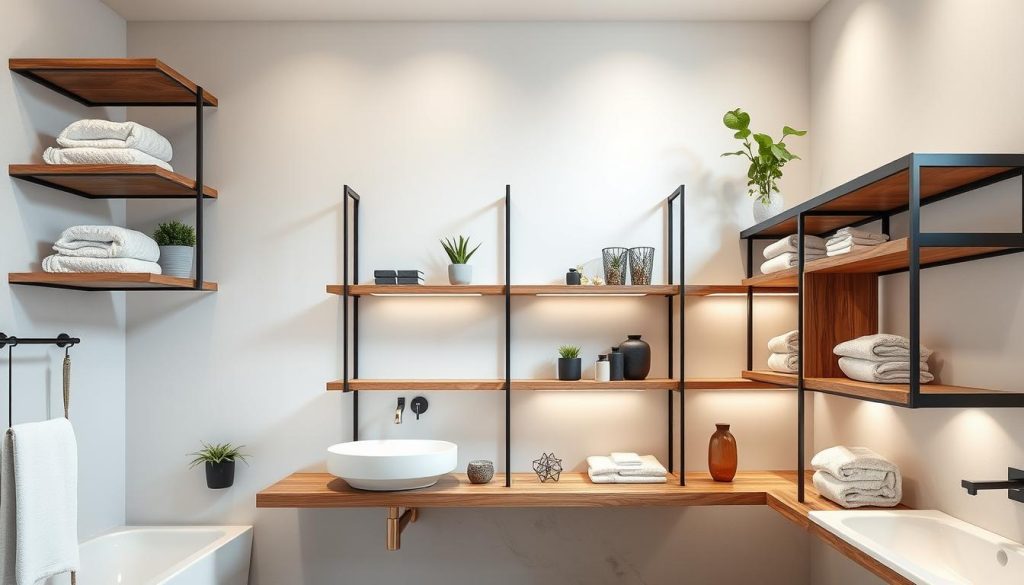
- Floating shelves for a sleek, minimalist look
- Built-in cabinets with open shelving above
- Over-the-toilet storage units
- Shower shelves for easy access to bath products
- Repurposed vintage cabinets for unique charm
Remember to plan around your bathroom’s existing fixtures and obstacles. This might include working around mirrors, light fixtures, or plumbing.
“Good design is making something intelligible and memorable. Great design is making something memorable and meaningful.” – Dieter Rams
Here’s a breakdown of popular materials for bathroom shelving:
| Material | Pros | Cons |
|---|---|---|
| Wood | Warm, natural look | Requires sealing |
| Glass | Modern, easy to clean | Can be fragile |
| Metal | Durable, sleek | May rust if not treated |
| Acrylic | Lightweight, versatile | Can scratch easily |
By carefully planning your bathroom shelf design, you’ll create a storage solution that’s both functional and stylish. Take your time to explore different options and find the perfect fit for your space.
Selecting Materials for Your DIY Shelves
Choosing the right materials is key for a successful DIY shelf project. Your picks will affect the shelf’s look, durability, and use. Let’s look at the top picks for your DIY shelves.
Wood Options
For rustic bathroom shelves, consider these wood options:
- Plywood: It’s affordable and versatile, great for shelves up to 24″ wide.
- Solid Wood: Cedar or teak are good for humid bathrooms because they resist moisture.
- Moisture-Resistant Alternatives: PVC or composite materials are water-resistant.
Hardware and Fasteners
For strong modern shelves, you’ll need:
- L-brackets for support
- Screws and nails for putting it together
- Pocket hole jig for clean joints
Finish and Sealant Choices
Protect your shelves with these finishes:
- Paint: Pick humidity-resistant ones
- Wood Stain: It enhances the wood grain
- Waterproof Sealant: It’s crucial for bathroom longevity
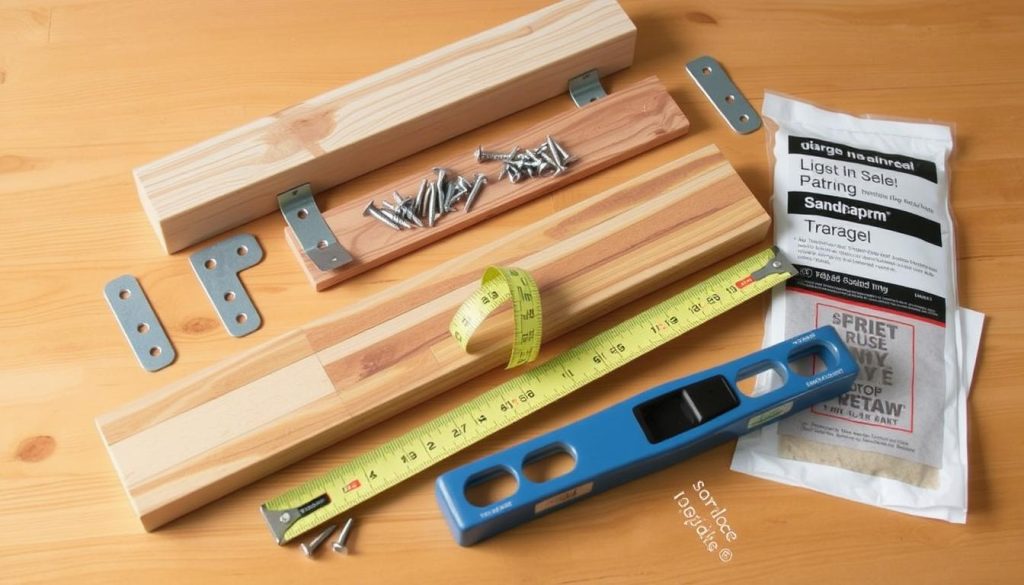
| Material | Pros | Cons |
|---|---|---|
| Plywood | Affordable, easy to work with | Needs sealing for moisture resistance |
| Solid Wood | Durable, natural look | Can be pricey, may warp if not treated |
| PVC | Waterproof, low maintenance | Less natural look |
Remember, the right materials make your DIY shelves last long and look good. Pick based on your style and bathroom needs.
Essential Tools for Building Bathroom Shelves
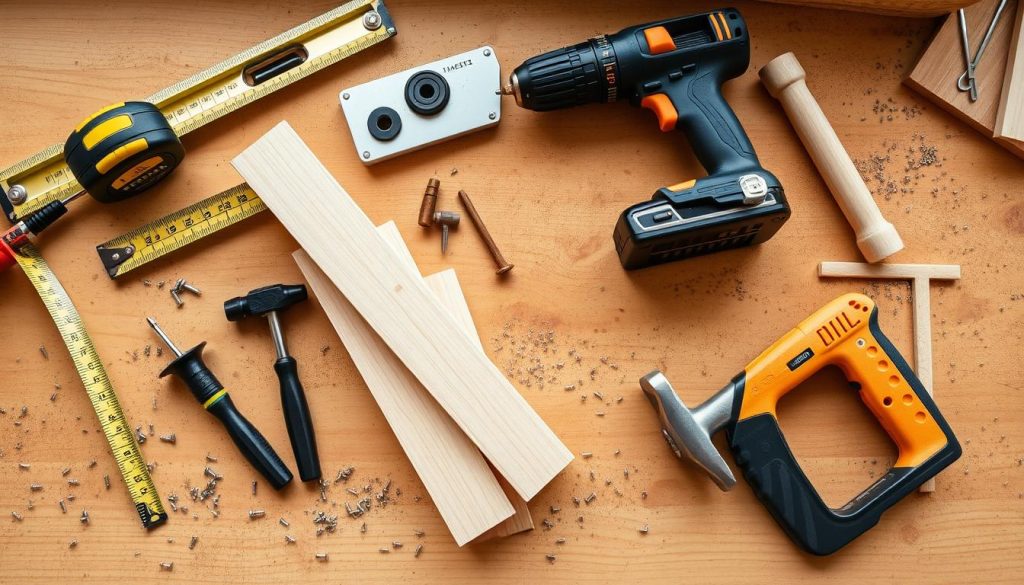
Starting diy bathroom projects like building shelves needs the right tools. For budget-friendly bathroom remodeling, you’ll need basic equipment. A circular saw and miter saw are key for precise cuts. A drill is useful for holes and screws.
A tape measure ensures your measurements are accurate. Safety is crucial. Wear gloves and eye protection before starting. A stud finder and level help with stability and alignment.
Consider renting tools to save money instead of buying them.
Here’s a list of essential tools for your project:
- Circular saw
- Miter saw
- Drill
- Tape measure
- Stud finder
- Level
- Safety gear (gloves, eye protection)
With these tools, you’re set to start your bathroom shelf project. Remember, careful planning and the right tools are key. You can achieve great results while keeping costs down.
Step-by-Step Guide to Building Your Shelves
Ready to start a bathroom makeover? Let’s build custom shelves for your diy bathroom decor. This guide will help you create stylish storage solutions for your space.
Cutting the Wood to Size
First, pick the right materials. Use ¾” plywood for sides and ½” for shelves. Measure your space and cut the wood to fit. If you’re not good with a circular saw, many stores offer cutting services.
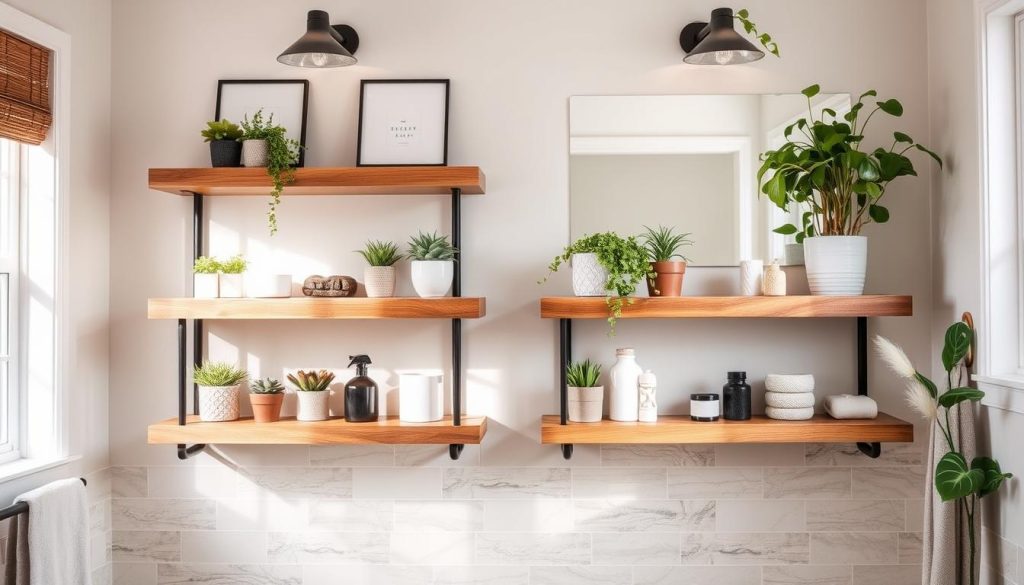
Assembling the Shelf Frame
Start with a plywood backboard attached to the wall. Cut side supports from ¾” plywood and attach them firmly. Use ½” plywood for the top and bottom shelves, attaching them to the side supports.
Space inner shelves evenly and connect them with pocket holes and screws.
Attaching Support Brackets
For longer shelves, use three heavy-duty J brackets in wall studs. Space them evenly for support. If drilling into ceramic tile, use a diamond drill bit to avoid cracking.
Sanding and Finishing the Shelves
Sand your shelves smooth for a professional finish. Apply stain or paint, then seal with a waterproof finish to protect against humidity. Add trim with 1x2s and caulk all seams. Your diy bathroom decor project is now complete, adding style and function to your space!
Installing Your Newly Built Shelves
Ready to make your bathroom better with wall-mounted shelves? Let’s get started. First, get your tools ready: a level, drill, and measuring tape. Mark where you want the shelves on the wall, making sure they’re straight.
Find the wall studs for strong shelf mounting. Drill holes and attach brackets or supports. If you made a cabinet, now’s the time to put in hinges and a door. Use a laser level for perfect shelf alignment.
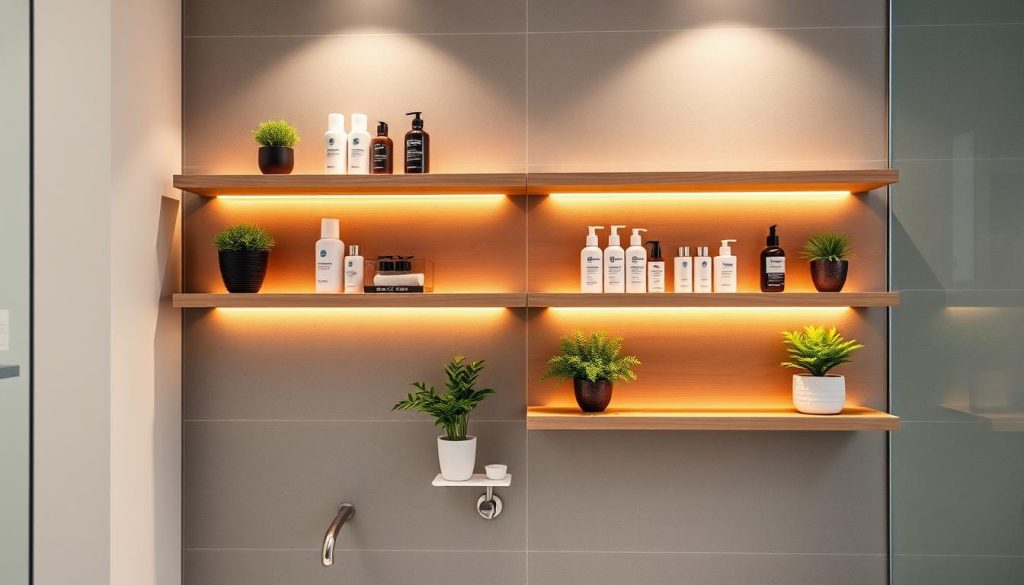
- Use pre-painted MDF board for a straight, smooth finish
- Opt for fixed shelves to speed up the building process
- Measure your space accurately before purchasing materials
- Space shelves evenly for a visually appealing look
Remember, Lowe’s and Home Depot offer free cutting services. This can save you time and ensure your shelves fit perfectly.
| Tool | Purpose |
|---|---|
| 72″ Level | Ensure straight shelf placement |
| Miter Saw | Cut shelving materials |
| Pneumatic Nailer | Secure shelf components |
| FatMax Stanley Tape Measure | Accurate measurements |
After your shelves are up and level, you can start organizing. Your custom shelves will not only improve storage but also add a personal touch to your bathroom.
DIY Shelves for Bathroom Organization
Turn your bathroom into a stylish storage haven with DIY shelves. These shelves are perfect for small bathrooms, helping you organize your space in a unique way.
Creative Shelf Layouts
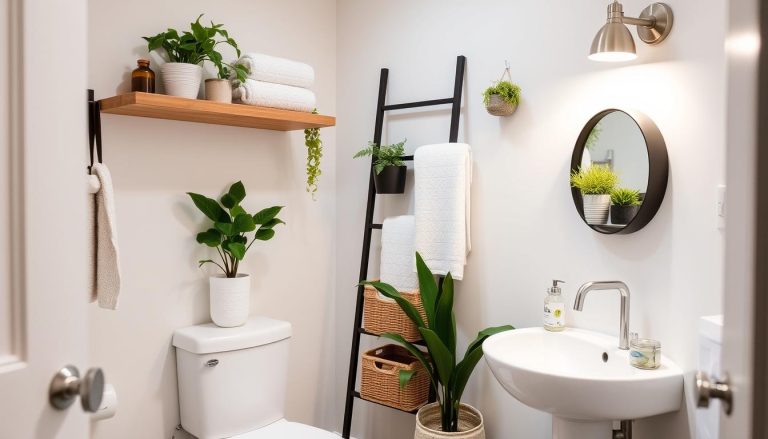
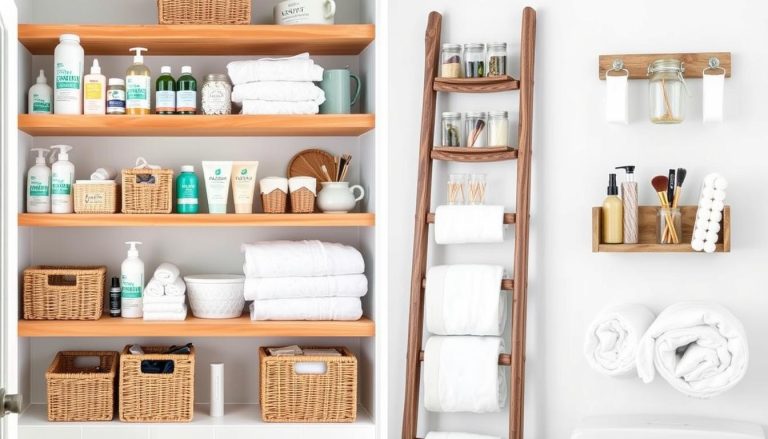
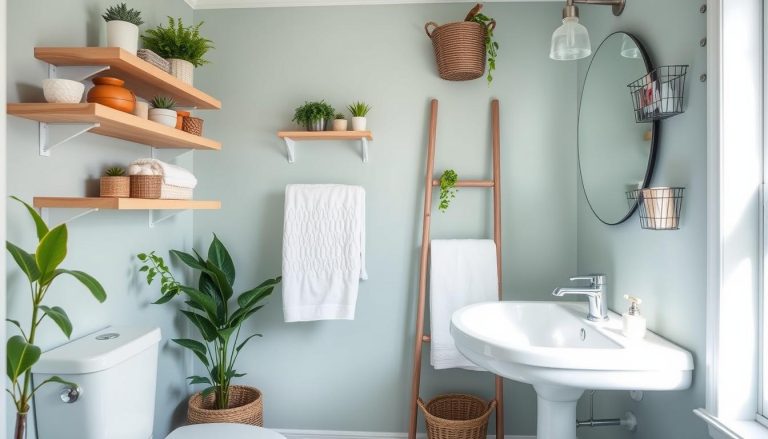
Use your bathroom’s vertical space with smart shelf designs. Corner shelves and over-toilet units save floor space. Ladder-style shelves add a modern touch and easy access to your essentials.
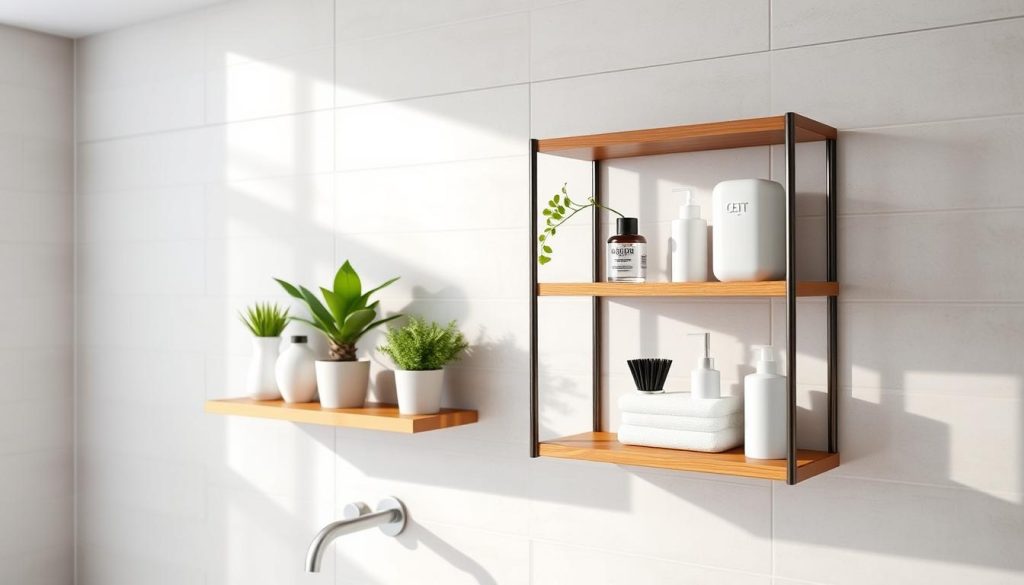
Baskets and Containers
Add baskets and containers to your shelves for a tidy look. This trick keeps small items organized and adds a decorative flair. Clear containers are great for quick grabs, while woven baskets bring a natural vibe.
Labeling for Easy Access
Set up a labeling system to make your mornings easier. Use chalkboard labels or small tags on baskets. It’s a simple way to save time and reduce stress.
| DIY Shelf Type | Best For | Storage Capacity |
|---|---|---|
| Wall-Mounted Shelves | Towels, Decor | High |
| Floating Shelves | Toiletries, Plants | Medium |
| Corner Shelves | Maximizing Space | Low to Medium |
| Over-Toilet Unit | Extra Storage | High |
With these DIY shelving tips, you’ll make your bathroom more functional and beautiful. The secret is to design it to fit your needs and bathroom layout perfectly.
Customizing Your Shelves for Specific Storage Needs
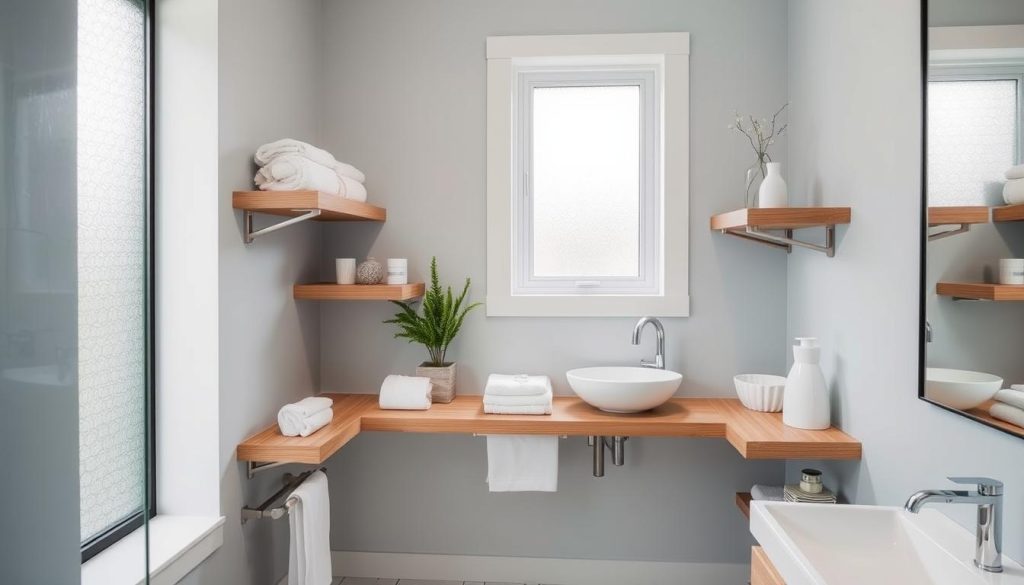
Start by making your bathroom shelves fit your needs. Customizing your storage helps use space better and keeps things neat. Here are some smart ways to organize your bathroom.
Experts say to put things where you use them most. For example, towels near the shower and toiletries by the sink. This makes things easier to find and keeps your bathroom clean.
Here are some clever storage ideas:
- Use plastic containers in humid areas
- Fold towels to save space
- Choose stackable storage
- Find the right size containers
- Use trays for small items
It’s important to mix different storage types on your shelves. Try using freestanding or wall shelves for more options. Pull-out shelves are great for small spaces, like under sinks or in corners.
| Storage Solution | Percentage | Benefits |
|---|---|---|
| Wall-mounted shelves | 35% | Space-saving, customizable |
| Over-toilet shelves | 25% | Utilizes unused space |
| Floating shelves | 15% | Modern look, easy installation |
| No-installation options | 27% | Renter-friendly, flexible |
The aim is to have a bathroom that works well and looks good. By using these tips, you’ll have a tidy space that meets all your storage needs.
Waterproofing and Protecting Your Bathroom Shelves
When you’re working on diy bathroom projects, like making custom shelves, it’s key to keep them dry. We’ll look at how to make your bathroom shelves water-resistant and durable.
Choosing the Right Sealant
For your bathroom makeover, choose a waterproof sealant for humid areas. Pick products made for bathrooms to get the best protection.
Application Techniques for Long-lasting Protection
Use a foam brush to apply thin coats of sealant. This method is better than one thick layer. Make sure each coat dries before adding the next.
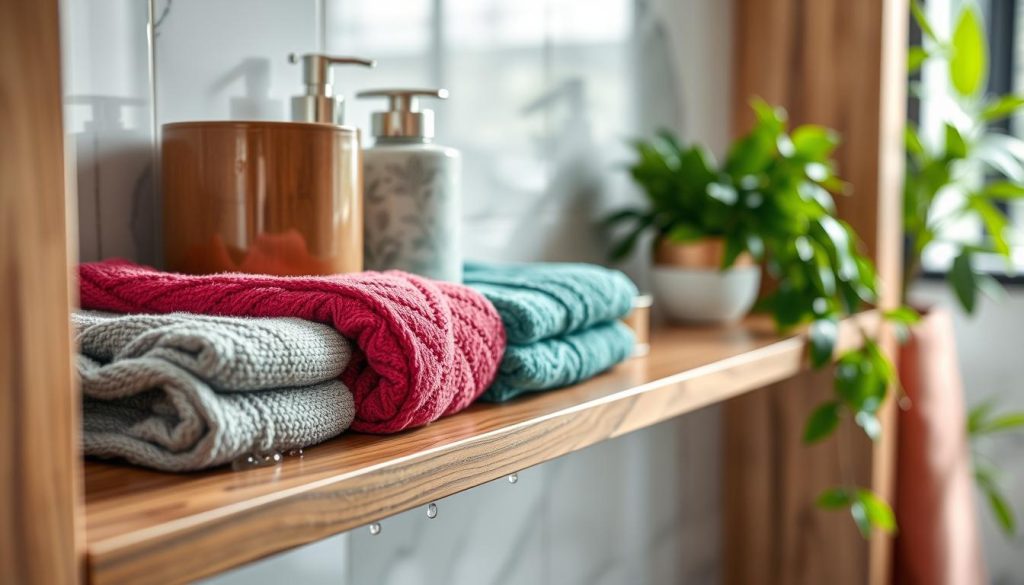
Maintenance Tips for Humid Environments
Keeping up with your bathroom shelves is important. Check them often for moisture damage. Reapply sealant every 1-2 years, based on how humid it is.
| Wood Type | Water Resistance | Durability |
|---|---|---|
| Teak | High | Excellent |
| Mahogany | High | Very Good |
| Pine | Low | Good |
Think about using shelf liners for extra protection. They’re made to resist moisture and stop leaks from getting into wood shelves. Good liners can last up to two years, making them a wise choice for your bathroom storage.
Decorative Ideas to Enhance Your Bathroom Shelves
Turn your bathroom shelves into stylish highlights with creative ideas. Make your space look modern and functional with these concepts.
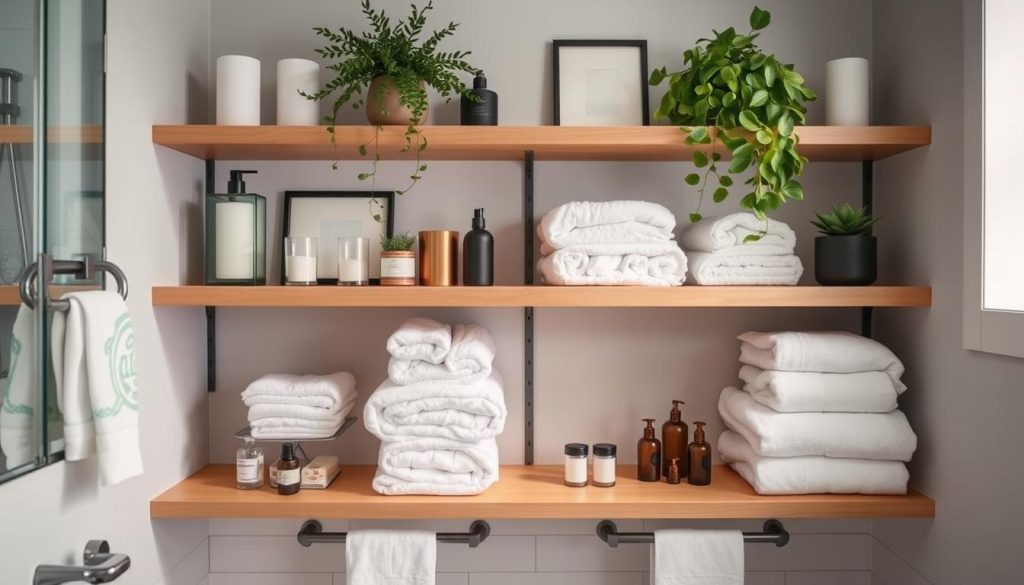
First, pick the right shelving style. Floating shelves look sleek, while bracket shelves have a classic vibe. Choose from colors like dark brown, white, blonde wood, or gray to fit your bathroom’s style.
When placing shelves above the toilet, go for two 6-inch deep and 22-inch wide ones. This size is both useful and attractive. To look polished, group your decor in odd numbers.
- Add greenery with small plants
- Display framed artwork or photos
- Arrange decorative soaps or candles
- Use wire baskets for toiletries
- Roll up colorful washcloths for a spa-like touch
For affordable decor ideas, check out Hobby Lobby, Kirkland’s, and Home Goods. Mix materials like wood, terrazzo, and marble for a unique look. The goal is to mix style with practicality in your shelving design.
Budget-Friendly Tips for Building Bathroom Shelves
Creating stylish bathroom organization on a budget is easier than you think. With a few smart strategies, you can build beautiful shelves without breaking the bank. Let’s explore some cost-effective ways to enhance your bathroom storage.
Cost-effective Material Alternatives
When choosing materials for your DIY home decor project, consider affordable options like pine or MDF. These materials offer durability at a fraction of the cost of high-end woods. For example, you can build attractive bathroom shelves for under $45, with some DIYers spending as little as $20 by using leftover materials.
Repurposing Existing Items
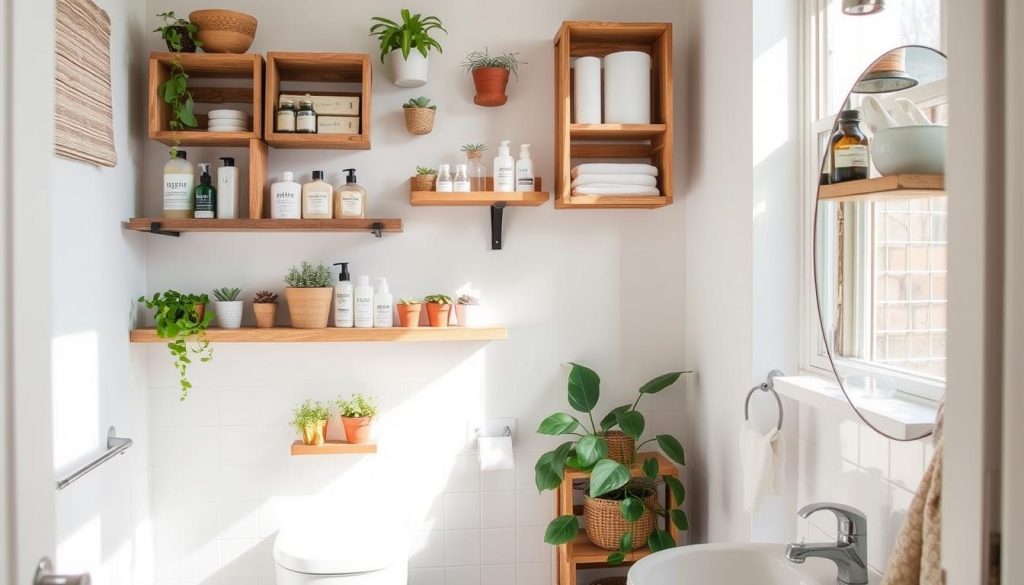
Get creative with items you already have. Old ladders can become unique towel racks, while wooden crates make charming shelves. During sales, you might find crates discounted by 40-50%, perfect for budget-friendly storage solutions.
Where to Find Discounted Supplies
Scout local salvage yards or online marketplaces for discounted materials. Many DIY enthusiasts find great deals on hardware by buying in bulk or checking clearance sections. Don’t forget to explore Pinterest for inspiration on cute and affordable bathroom storage ideas.
| Item | Average Cost | Budget-Friendly Alternative |
|---|---|---|
| Shelving Material | $50-$100 | Pine or MDF: $20-$30 |
| Brackets | $15-$25 per pair | Spray-painted L Brackets: $5-$10 per pair |
| Finish | $30-$50 | Leftover stain or paint: $0-$15 |
By following these tips, you can create beautiful and functional bathroom shelves without overspending. Remember, with a little creativity and resourcefulness, budget-friendly bathroom organization is within reach.
Troubleshooting Common DIY Shelf Building Challenges
Building your own bathroom shelves can be fun, but it comes with its own set of problems. Let’s look at some common issues and how to solve them. This way, you can make your bathroom look amazing.
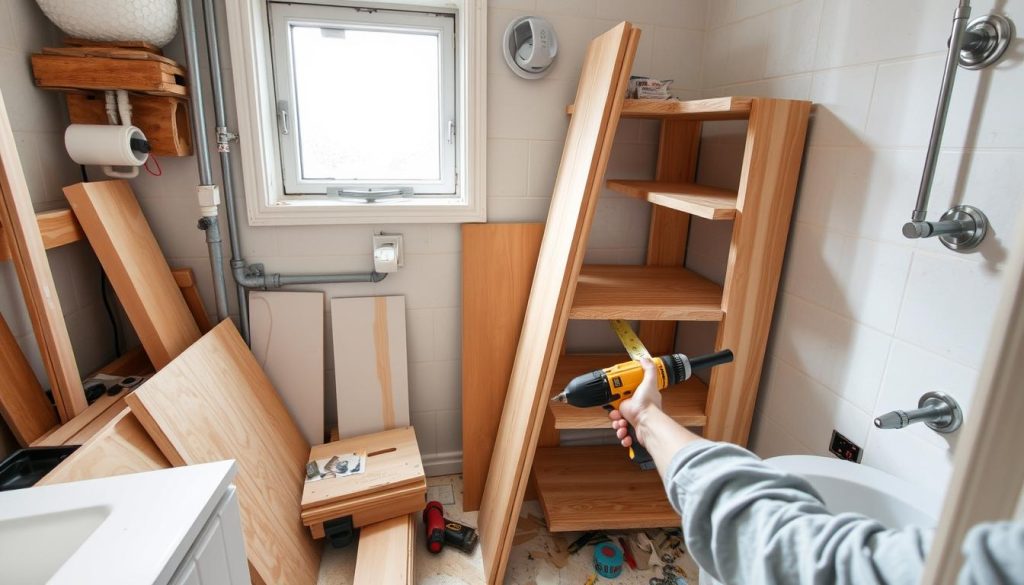
Uneven walls can be a big problem. Use shims or adjustable brackets to make your shelves level. If your space isn’t square, cut your shelves to fit perfectly. Always use a stud finder for strong mounting.
What if you hit pipes or other obstacles? You can design around them with smart cut-outs or by adjusting where you place your shelves. For heavy things, add extra support or use sturdier materials like 2x4s or plywood.
Material Matters
Choosing the right materials is crucial. Did you know that 33%-50% of shelf problems come from bad materials or lack of support? Pick quality wood or moisture-resistant options for your shelves.
Installation Tips
More than 50% of shelf sagging is because of wrong bracket attachment. Make sure to use wall studs or blocking with at least one anchor per hole. This simple trick can help a lot.
| Issue | Solution |
|---|---|
| Warped shelves | Apply counter-pressure to reshape |
| Limited space | Use narrow DIY storage shelves |
| Heavy items | Install heavy-duty utility shelves |
Remember, being patient is important when you’re fixing problems. With these tips, you’ll get past common issues and make beautiful, useful bathroom shelves that last.
Safety Considerations When Building and Installing Shelves
When you start on diy bathroom projects, like installing shelves, safety comes first. You don’t have to spend a lot to be safe. Here are some important safety tips for your project.
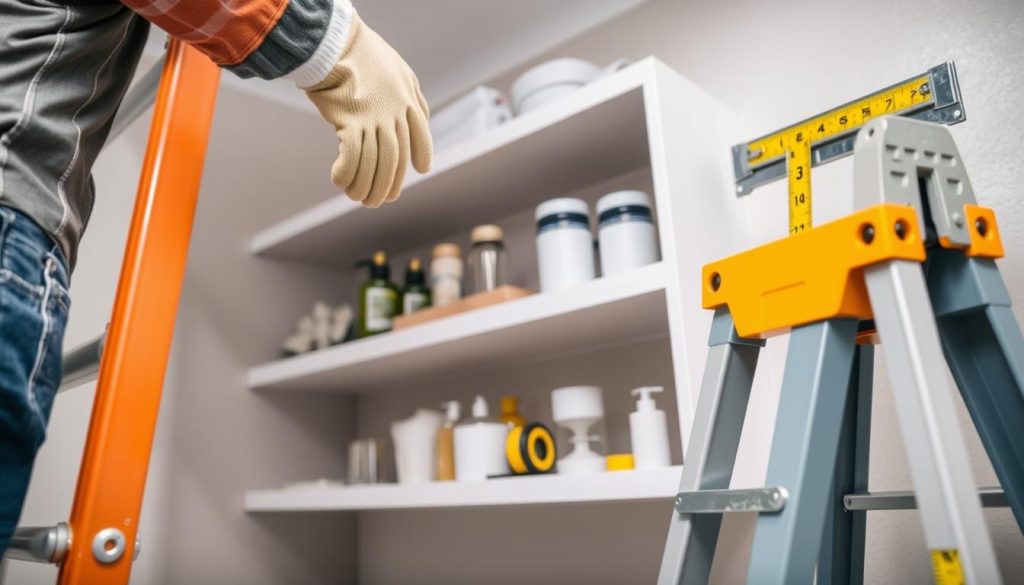
Start by wearing safety glasses and gloves. These can prevent eye injuries and protect your hands from cuts or splinters. Make sure you have good air flow when using paints or sealants to avoid breathing in harmful fumes.
For shelves that go high up, use a strong ladder or step stool. Be careful around electrical outlets and plumbing when drilling into walls. Always check the weight limits of your shelves and use the right anchors for wall-mounted ones.
Essential Safety Equipment
- Safety glasses
- Gloves
- Dust mask
- Sturdy ladder or step stool
- Stud finder
A budget-friendly bathroom remodel starts with a safe workspace. Take your time, double-check your measurements, and never rush the installation.
| Tool | Safety Tip |
|---|---|
| Table Saw | Use push sticks to keep hands away from the blade |
| Drill | Secure workpieces to prevent spinning |
| Jigsaw | Allow blade to stop completely before setting down |
| Sander | Wear a dust mask to avoid inhaling particles |
By sticking to these safety tips, you’ll have a successful and safe shelf installation. Your diy bathroom projects will look great and last long, all while keeping you safe.
Maintaining and Updating Your DIY Bathroom Shelves
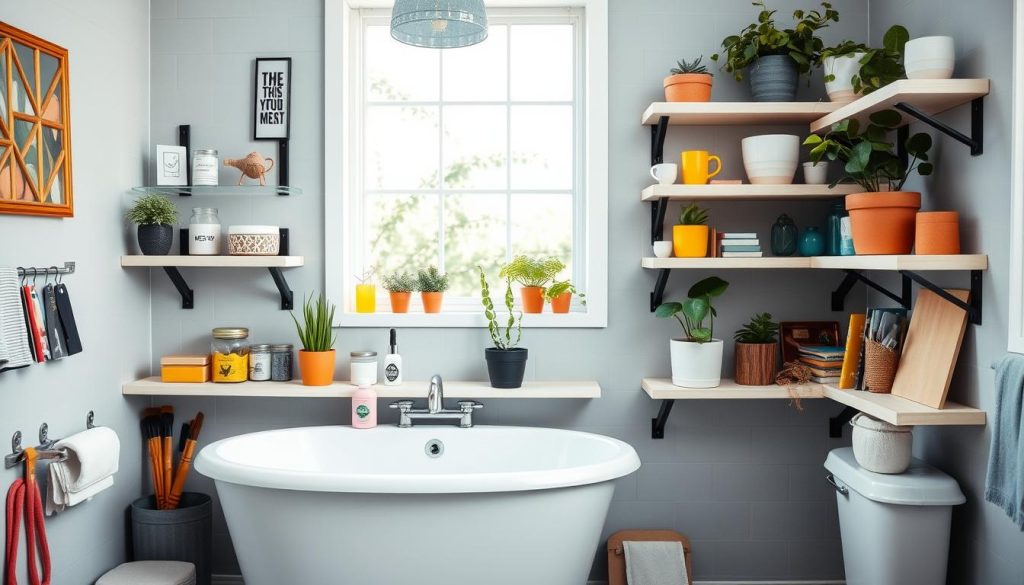
Your DIY bathroom shelves are a key part of your bathroom organization ideas. To keep them looking great and functioning well, regular upkeep is essential. Let’s explore how to maintain and refresh your custom shelves for a lasting bathroom makeover.
Regular Cleaning and Upkeep
Clean your shelves weekly with a damp cloth and mild soap. This simple routine prevents buildup and keeps your bathroom decor fresh. Check for loose screws or brackets monthly and tighten as needed. Remember, 75% of bathroom products can expire quickly in unsuitable conditions, so rotate items regularly.
Refinishing and Repainting Options
Give your shelves a new look with a fresh coat of paint or stain. This DIY bathroom decor update can be done for under $50, matching the budget of popular organization challenges. Choose moisture-resistant finishes to protect against humidity. Consider using aluminum paneling for a modern touch, as seen in recent DIY projects.
Upgrading Hardware and Accessories
Refresh your shelves with new hardware. Swap out old knobs or pulls for an instant update. Add baskets or containers to maximize storage – 60% of people prefer keeping everyday items easily accessible. Try repurposing items like a large garden pot for storing hair tools, inspired by creative HomeGoods finds.
| Upgrade | Cost | Time |
|---|---|---|
| Repainting | $20-$30 | 2-3 hours |
| New Hardware | $10-$20 | 30 minutes |
| Storage Baskets | $15-$25 | 15 minutes |
By maintaining and updating your DIY bathroom shelves, you’ll ensure they remain a stylish and functional part of your bathroom organization system for years to come.
Closing Thoughts
Building DIY shelves for bathroom organization is a game-changer for small bathrooms. It’s not just about adding shelves; it’s about transforming your space. The key to success lies in careful planning and execution.
When starting your project, think about using clear bins for washcloths and longer trays for toiletries. Fabric and weave baskets are great for storing sheets and towels. For a polished look, stain your shelves with Minwax Golden Oak and seal them with wax paste or poly for quick drying.
Also, look into budget-friendly options like the Kriitools Woven Storage Baskets or the SPACEKEEPER Slim Rolling Storage Cart. These affordable items can enhance your DIY shelves and make your bathroom more functional. With your new DIY shelves, you’ll have a clutter-free, organized space that makes your daily routine easier.

