DIY Loft Bed Projects for Beginners: Space-Saving Solutions Made Easy
houseremodelingnews.com may earn a commission if you purchase a product through one of our links
Did you know a DIY loft bed can save up to 60% of your bedroom floor space? These raised beds are perfect for small rooms. They offer a place to sleep and open up new possibilities beneath.
Picture turning your small bedroom into a space with a bed, desk, and shelves all in one. These beds are great for kids’ rooms, dorms, or studio apartments. You can make one for about $250, much cheaper than buying it.
Are you ready to start your DIY loft bed project? This guide is for everyone, from experts to beginners. We’ll cover choosing materials and adding the final touches. You’ll learn to make a bedroom storage solution that suits your space and style.
Introduction to DIY Loft Bed Projects
Loft bed ideas are great for making the most of small rooms. They help save space and can change how you use your living area. Let’s look into DIY loft beds and see how they can change your room.
Benefits of Loft Beds for Space Optimization
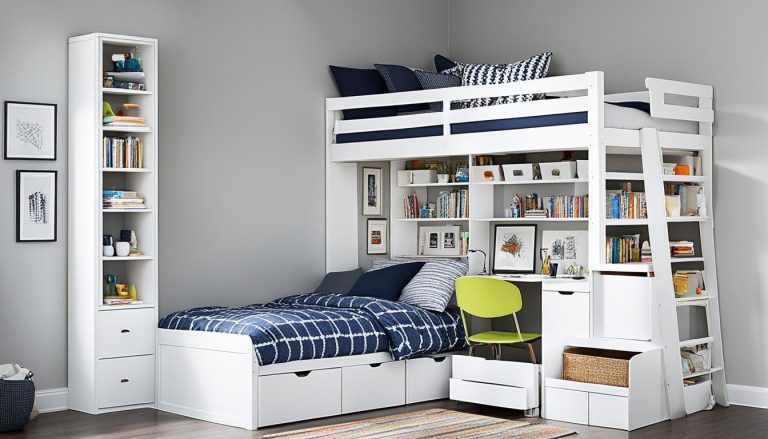
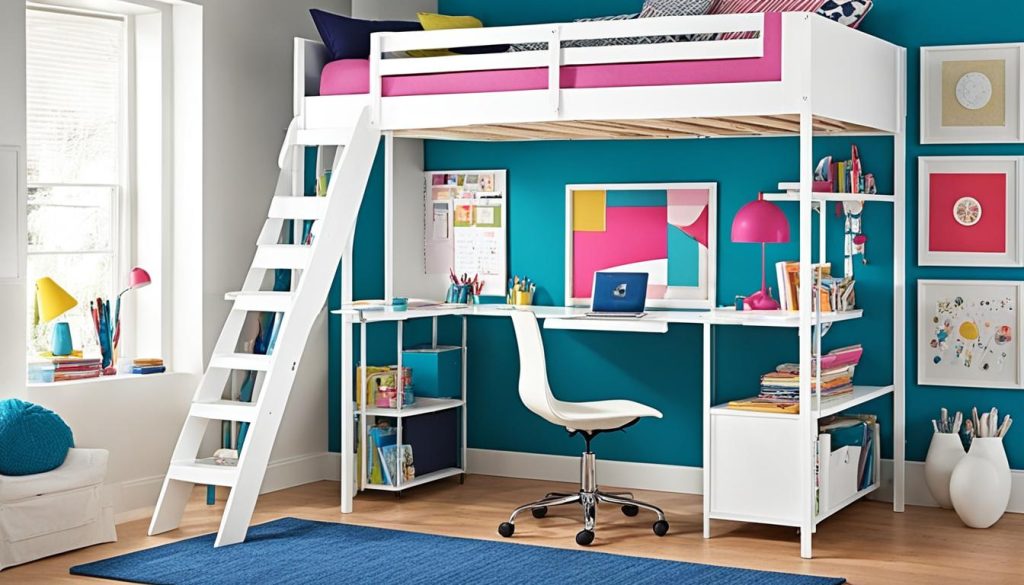
Loft beds are a big help in small rooms. They lift your bed up, giving you more space below. You can use this space for a desk, storage, or a cozy spot to read. Most loft bed plans, 71%, include extra features like storage or desks.
Skill Level and Time Commitment
Building a loft bed is a fun project for different skill levels. Some plans are easy for beginners, while others need more woodworking skills. A simple loft bed can take about 2 hours to make. But, more complex ones might take days.
Out of 14 common loft bed plans, only 3 are good for beginners.
Safety Considerations for Loft Bed Construction
When making a loft bed, safety comes first. Make sure your design has strong railings and a secure way to climb up. Use good materials like untreated pine wood and strong fasteners. It’s important to attach the bed to wall studs for extra safety.
Before using it, test your loft bed’s strength. One builder added corner braces to fix wobbliness and make it more stable.
“Safety first! Always test your loft bed’s strength before sleeping in it. I let mine carry weight for a full night before use.”
By following these tips, you can make a loft bed that’s safe, useful, and looks great. It will make your bedroom more spacious and add a special touch to your home.
Essential Tools and Materials for Loft Bed Construction
Are you ready to start your loft bed woodworking project? Let’s look at the key tools and materials you’ll need. Building a loft bed is a great way to save space and show off your DIY skills.

- A miter saw for precise cuts
- A drill for making holes and driving screws
- A Kreg Jig for creating strong joints
- A brad nailer for attaching trim pieces
For materials, you should get:
- 2x4s and 2x6s for the frame (about 10 pieces of each)
- 1x3s for support slats (6-8 pieces)
- Two 4×8 sheets of plywood for the bed base
- Wood screws in various sizes
- Lag screws for extra strength
- Wood glue for secure joints
The total cost for materials is usually $300-$400. This depends on the wood quality and local prices. Spending on good materials now means your bed will last longer.
A well-built loft bed can last for years, making it a worthwhile investment for your home.
With these tools and materials ready, you’re all set to start your loft bed project. Get ready to change your space with this fun woodworking project!
Planning Your Loft Bed Design
Creating loft bed plans begins with careful planning. A well-designed loft bed can turn your bedroom into a space-efficient haven. Let’s look at the key steps to plan your perfect loft bed.
Measuring Your Space
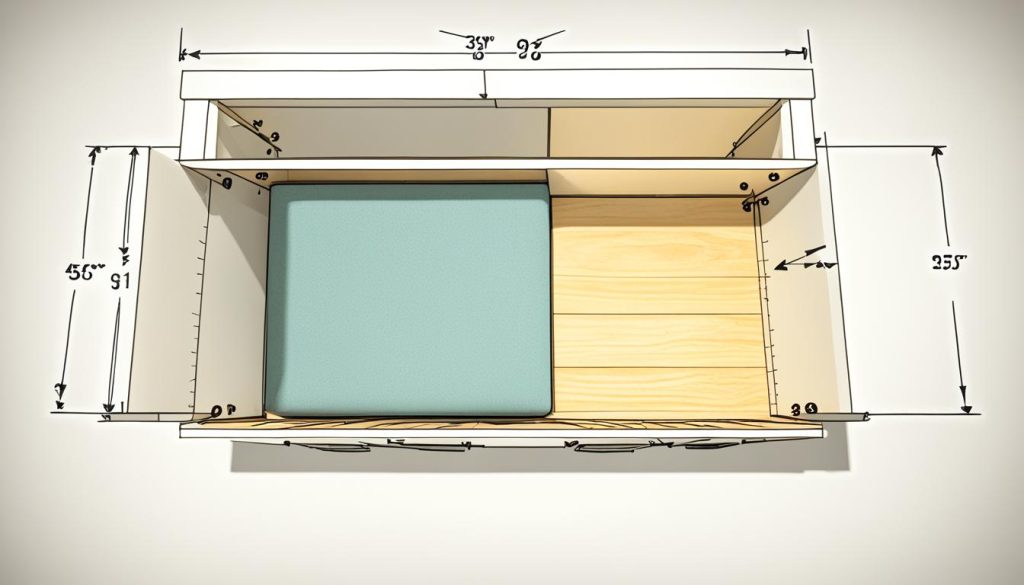
First, measure your room. Note the length, width, and ceiling height. Loft beds are best in rooms with ceilings at least 8 feet high. For a twin mattress (38″ x 75″), you’ll need about 40″ x 80″ of floor space.
Choosing Your Style
Next, pick a style that fits your needs. A simple loft bed frees up floor space. Add a desk underneath for a study area. Or go wild with a themed design for kids. Your choice depends on who’ll use the bed and how you want to use the space below.
Creating a Blueprint
Now, draw up detailed loft bed plans. Use graph paper or design software for precision. Include exact measurements for the frame, ladder, and safety features. Don’t forget to account for your mattress size and any built-in elements like shelves or a desk.
- Frame dimensions
- Ladder or stairs placement
- Under-bed area layout
- Safety rail heights
With careful planning, you’re on your way to creating space-efficient bedroom designs. A well-planned loft bed can add valuable space to your room while providing a cozy sleeping area. Get ready to bring your vision to life!
Building the Bed Frame: Step-by-Step Guide
Are you ready to build your loft bed? Let’s start with the steps to make elevated bed frames. First, you need to secure support to your walls.
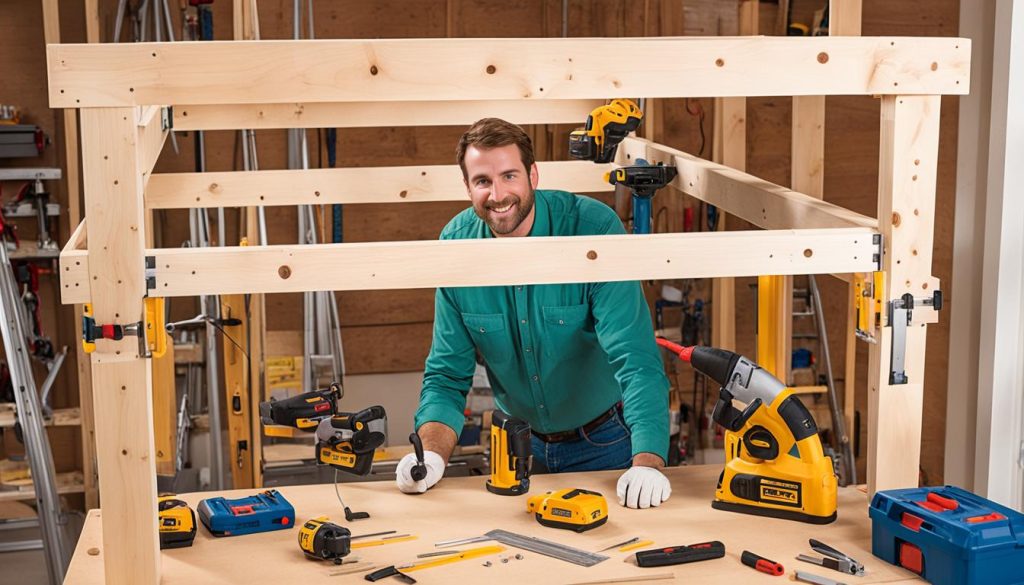
Begin by attaching 2×6 boards to wall studs for a strong base. This is important for safety, as a full-size loft bed is 54″ x 75″ and weighs about 180 lbs. Then, use 2x4s and joist hangers to build the frame. Finally, add slats to support your mattress.
Use the right screws and bolts to make sure everything is securely attached. Check the stability at each step. For the headboard and footboard, you can choose from:
- Simple vertical boards
- Decorative panels
- Integrated shelving
It’s important to measure correctly. Your loft bed frame should be 84″ high, 75″ long, and 38″ wide. These dimensions give you enough space under the bed for a desk or storage.
“Measure twice, cut once” – this old carpenter’s saying is especially true for loft bed construction.
Building your own loft bed can save you money. While buying one costs about $1,000, making it yourself costs around $350 in lumber. Plus, you’ll have the joy of creating a custom piece that fits your space and needs.
Constructing the Ladder or Stairs
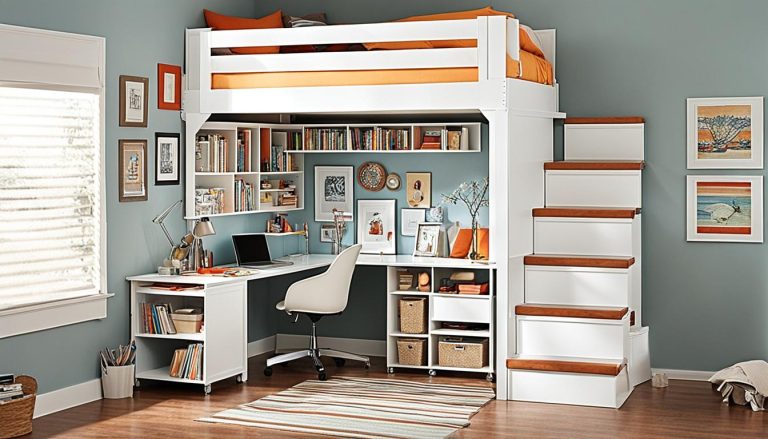
Choosing between a ladder or stairs is key for organizing a kid’s room. Let’s look at the good and bad of each and important safety tips.
Ladder vs. Stairs: Making the Right Choice
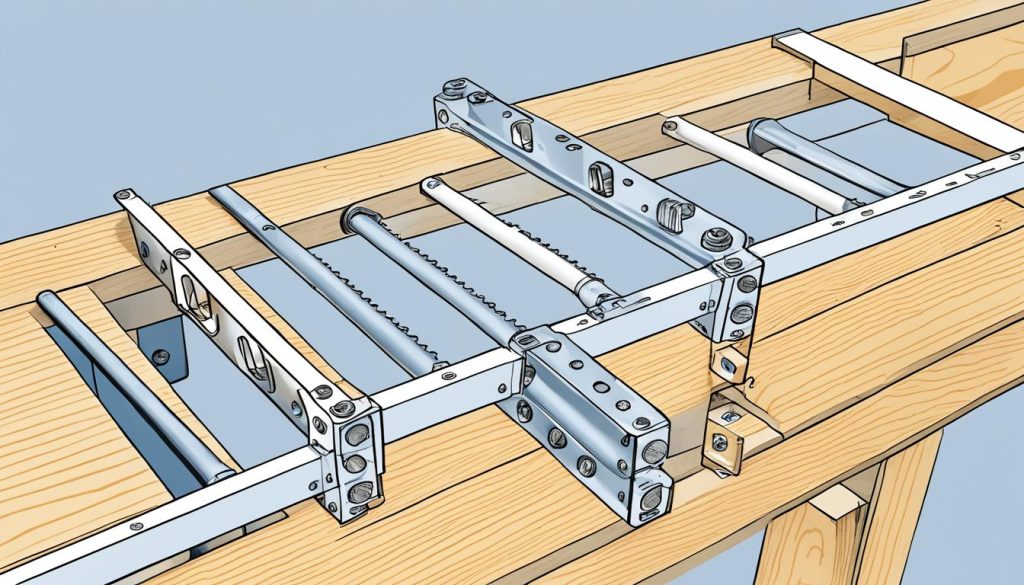
Ladders are great for saving space, but stairs make getting up and down easier. In a recent survey, 1 in 100 DIY loft bed projects for beginners included a custom-built bunk bed ladder. A typical ladder is 60 1/2 inches tall with a 15-degree angle for easy climbing.
Safety First: Key Features to Include
Safety is the top priority in loft bed DIY projects. For ladders, use 1x4s for rails and rungs, and make sure they’re evenly spaced. A recent project used 5 steps, each 9 3/4 inches apart. For stairs, add non-slip treads and strong handrails. The average stair height is about 8 inches.
Secure Attachment Methods
Proper attachment is vital for safe access. Use bolts or heavy-duty brackets to attach your ladder or stairs to the bed frame and floor. For ladders, wood glue and 1 1/4″ finish nails can hold steps to rails together. A well-attached access point is key for your kid’s room’s safety and organization.
“Safety isn’t expensive, it’s priceless. Invest time in secure attachments for your loft bed access.”
By following these tips, you’ll make a safe and useful access point for your loft bed. This will improve both safety and style in your kid’s room.
Adding Railings and Safety Features
Safety is crucial for kids’ loft beds. Railings are essential to stop falls and give parents peace of mind. Let’s look at some ways to make your child’s bedroom safer while they sleep and play.
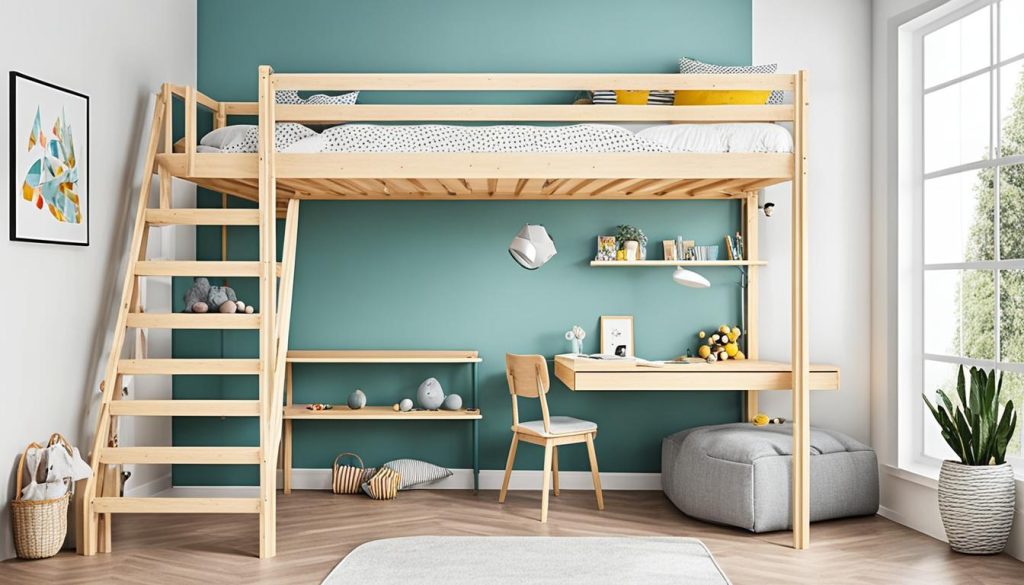
Install railings at least 5 inches above the mattress for the best protection. Use 1x3s or 2x2s for the supports, keeping them 3.5 inches apart. This stops kids from slipping through.
To make the railing strong, attach horizontal rails with screws and glue. Add corner braces for more stability. These steps will make your loft bed much safer.
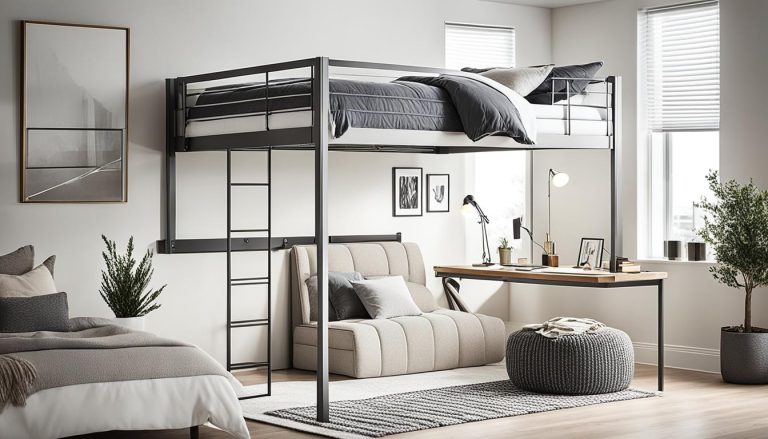
- Use metal tubes and connectors for a modern look
- Consider adding a roll guard for younger children
- Customize railing length to fit your bed size
- Paint railings in fun colors to match the room’s decor
Add shelves or pockets to the railing for a personal touch. It makes the bed more useful and fun for your child. Always check the railings by shaking them to make sure they’re secure.
“A safe bed is a happy bed. Prioritize safety in your DIY projects to create a worry-free sleep environment for your kids.”
With these safety tips, you’ll make a safe and fun space for your child. Be creative and plan well to make your loft bed both stylish and secure.
Maximizing Under-Bed Space: Storage and Desk Ideas
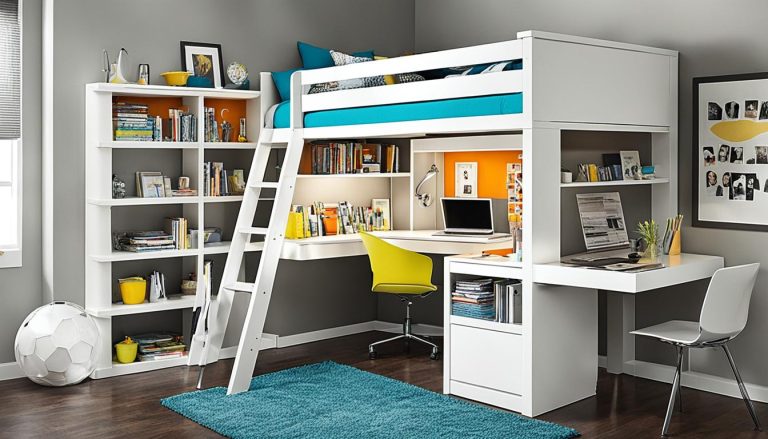
Loft beds with desks are great for small rooms. They let you use the space under your bed for a work area and smart storage. Here are some ideas to use your under-bed space well.
Built-in Shelving Options
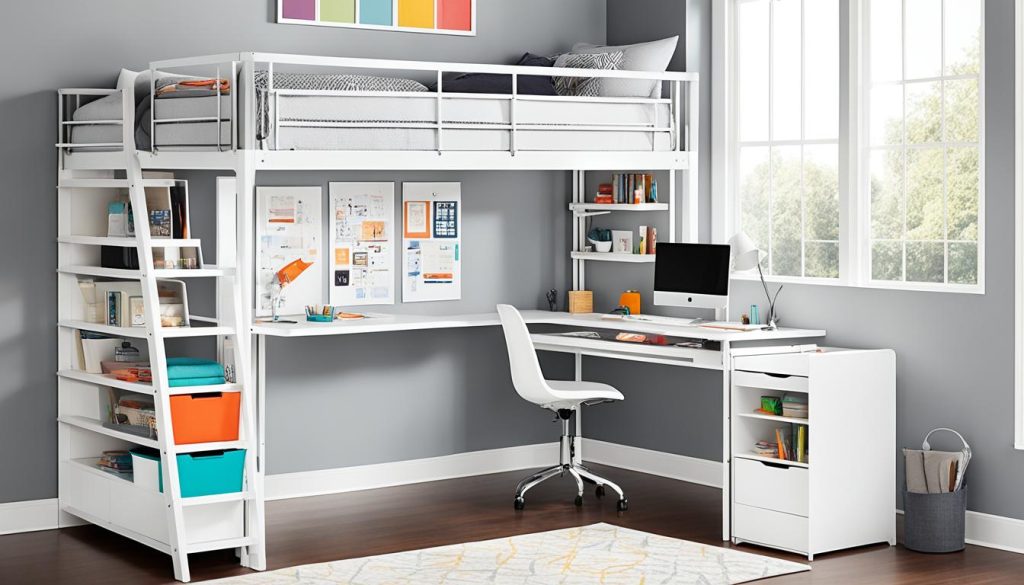
Put custom shelves under your loft bed for books, clothes, or decorations. Use plywood or pine boards to make shelves that meet your needs. You can also have a small wardrobe space for hanging clothes, saving space in your bedroom.
Desk Integration Techniques
Combine a desk with your loft bed for a space-saving study area. Attach a strong work surface to the bed frame with heavy-duty brackets. Think about a pull-out desk for extra flexibility. This is perfect for small bedrooms or studio apartments.
Creative Storage Solutions
Use every inch under your loft bed with these storage tips:
- Install drawers or cubbies for organized storage
- Use baskets or bins to keep things tidy and easy to find
- Create a cozy reading nook with built-in seating and storage underneath
- Add a pegboard wall for hanging tools or accessories
With these storage and desk ideas, you can turn your loft bed into a space that uses every inch of your room. These solutions are great for kids’ rooms or small adult living areas. They help you make the most of your loft bed setup.
Finishing Touches: Painting and Decorating Your Loft Bed
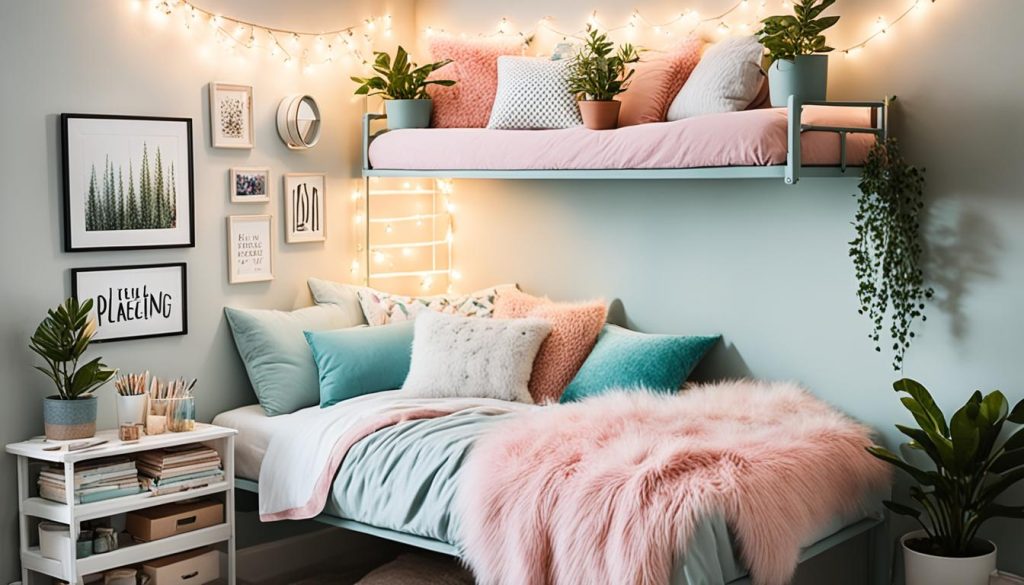
Are you ready to add a personal touch to your loft bed? Let’s explore some fun DIY ideas for budget-friendly bedroom makeovers. Begin by sanding all surfaces for a smooth finish. Then, pick a durable, child-safe paint like semi-gloss for extra protection.
The Studio Color Interior Advanced Paint + Primer by Rust-Oleum comes in 18 interior colors, ideal for your loft bed. This paint is pre-mixed and easy to use, needing only two coats for great coverage. For a professional finish, use a slow and steady hand instead of painter’s tape.
After the paint dries, it’s time to decorate! Add some fun with themed decals or a chalkboard for endless creativity. Hang cozy linen-look curtains around the bed for a cozy feel. Use Command Hooks to hang twinkle lights for a magical touch.
“Involving your teen in the decorating process can lead to decluttering and donating unused items, making room for fresh ideas and a personalized space.”
For storage, think about using baskets and shelves in the closet instead of a dresser. This method saves space and keeps the room tidy. Remember, your loft bed is a place to dream and express your creativity!
DIY Loft Bed Projects for Different Room Sizes
Loft beds are great for small spaces. They work well in cozy corners or large bedrooms. Let’s look at some designs for different room sizes.
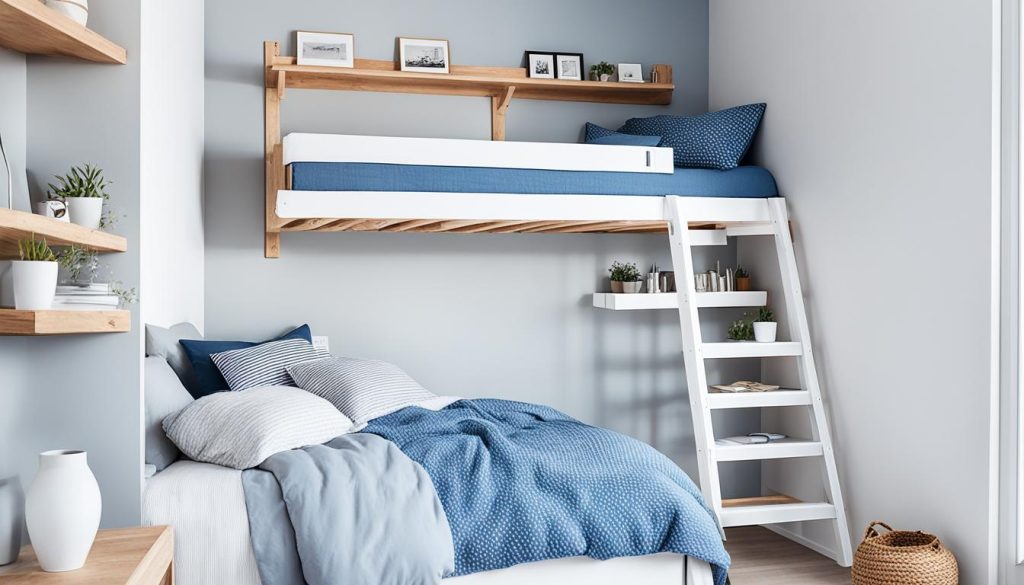
For small rooms, a corner loft bed is a smart choice. It uses the corner space, leaving more room for other things. In bigger rooms, L-shaped lofts are versatile. They can have a desk, shelves, or a seating area under the bed.
For shared rooms, double loft beds or bunk hybrids are perfect. They give each person their own space while keeping room for study or play areas below. Make sure to check the ceiling height. Aim to leave at least 30 inches between the bed and the ceiling for comfort.
- Tiny rooms: Corner loft beds
- Larger spaces: L-shaped lofts with added features
- Shared rooms: Double lofts or bunk hybrids
Think about your budget and materials when planning your loft bed project. Basic loft beds can cost about $100 to build. More complex ones might be $200 to $1000. You can use wood, steel, or aluminum pipe, depending on your budget and needs. A twin-sized loft bed usually needs 100 self-tapping wood screws and specific lumber cuts.
“A well-designed loft bed can transform a cramped space into a multi-functional oasis.”
Your loft bed should be both useful and safe. Most designs can hold 200 to 600 pounds, depending on the materials and how it’s built. Always follow safety rules and make sure your bed is well-made for peace of mind.
Cost-Effective Loft Bed Solutions
Building a loft bed doesn’t have to be expensive. With smart planning and creative choices, you can make a budget-friendly sleeping space. This space can make the most of your room’s potential. Let’s look at some wallet-friendly options for your DIY loft bed projects.
Budget-Friendly Material Alternatives
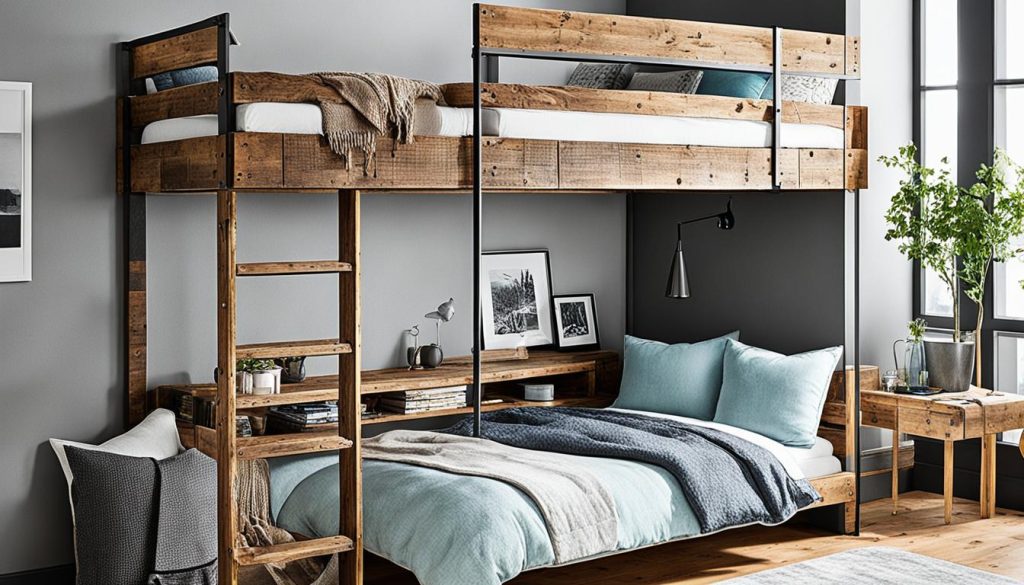
Consider using pine instead of hardwoods for your loft bed. Pine is affordable and easy to work with, ideal for budget-friendly makeovers. You can also use reclaimed wood or pallets for a rustic look without spending a lot.
Money-Saving Construction Tips
Save money on your DIY loft bed by buying lumber in bulk or during sales. Plan your cuts to avoid waste. Look for discounts on fasteners and hardware at discount stores or online. Simple designs often need fewer materials and tools, which helps keep costs down.
Upcycling Ideas for Loft Bed Components
Be creative with upcycling to cut costs even more. Turn an old ladder into a stylish way to get up to your loft bed. Use an old desk or shelving unit under the bed for extra storage. Choose milk paint or homemade stains for an eco-friendly and budget-friendly finish that adds personality to your bed.
“Our DIY Triple Bunk Bed project cost just under $200 in lumber, proving that amazing results don’t require a hefty price tag.”
By using these cost-effective strategies, you can make a beautiful loft bed that meets your needs without breaking the bank. Remember, the secret to successful budget makeovers is smart planning and being resourceful.
Troubleshooting Common Loft Bed Building Challenges
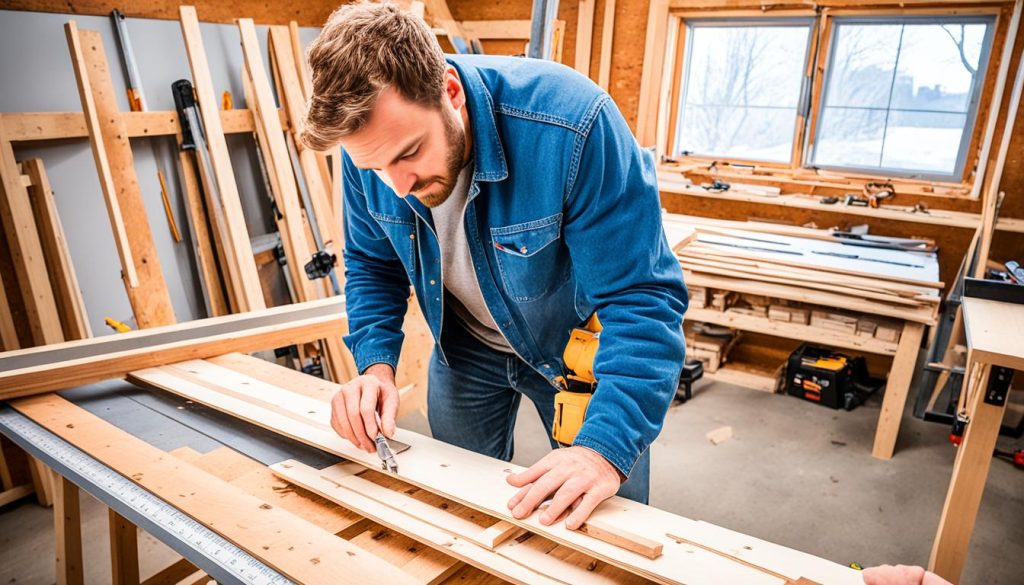
Building a loft bed is a fun woodworking project, but it has its challenges. Many DIY fans run into issues when making these space-saving beds. Here are some tips to help you fix common problems in your DIY loft bed projects.
Loft beds often wobble. To fix this, add cross braces or use more screws in the joints. In a recent project, a builder used 3.5-inch screws to attach the frame to seven studs. This made the bed very stable.
Squeaking can be a problem too. Make sure all parts are tightly connected and think about adding washers to bolts. If you’re using wood slats, sand them to lessen friction. Also, the type of paint you use can affect the bed’s quietness. Try different paints like flat, acrylic enamel, or spray enamel to find the best one.
- Unstable ladder? Reinforce it with metal brackets or add extra attachment points.
- Uneven floors? Use adjustable feet on bed posts for proper leveling.
- Insufficient support? Incorporate additional 2x4s or 2x6s into your design.
Always put safety first when fixing issues. Make sure your loft bed is well attached to wall studs and check all connections often. By solving these common problems, you’ll have a strong and cozy loft bed that saves space.
Maintenance and Safety Tips for Your DIY Loft Bed
Your DIY loft bed is a smart way to keep your bedroom safe. Keeping it in good shape is key to its safety and long life. Check all bolts and screws every month to make sure they’re tight. This stops the bed from wobbling.
For wooden frames, use a moisture meter to check humidity levels. High humidity can make the wood unstable. Tighten any loose screws or bolts right away.
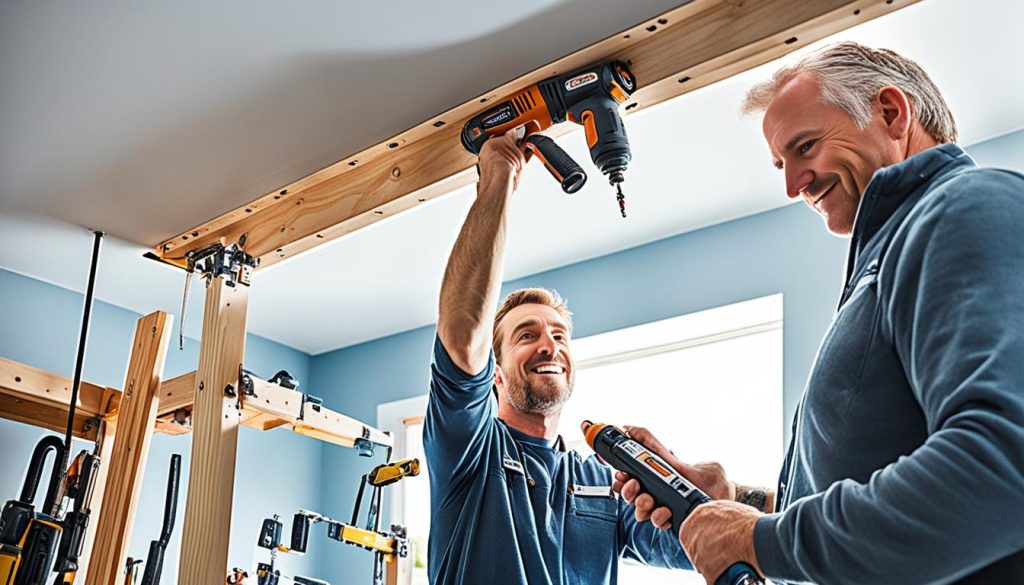
Look for any damage or wear on the frame. Check for splits in the wood or rust on metal parts. If you find any damage, replace it quickly.
Test the bed’s stability by shaking it gently. If it feels unstable, add diagonal bracing to make it stronger.
Keeping the area around the ladder or stairs clear is important for safety. Make sure the mattress fits well within the frame to prevent gaps. Adding a smoke detector near the loft bed is also a good idea.
- Check and tighten bolts monthly
- Monitor wood moisture levels
- Replace damaged parts immediately
- Keep the climbing area clear
- Ensure proper mattress fit
Tell your kids not to jump or play rough on the loft bed. This rule helps keep the bed stable and safe. By following these tips, your DIY loft bed will stay a safe and smart way to save space for a long time.
Final Thoughts
DIY loft bed projects are a fun way to change your living space. They cost less than $75 for materials, not counting paint, and plans are only $10. This makes them easy for most DIY fans to start. You can finish the project over a weekend, perfect for those busy weekends.
The steps might look hard, but they’re made for beginners. You’ll use simple materials like 2×4 lumber and lag screws for stability. You can also make it your own by painting the window frames or adding shiplap and trim. Just remember to set aside time for filling nail holes and touching up paint.
Safety is key in making a loft bed. Use 5″ lag screws and washers to attach the frame to wall studs. For rooms with 8-foot ceilings, these beds fit great. Add a strong ladder with 1x4x8 boards and secure it with screws and liquid nails. With good planning and doing it right, you’ll have a unique, useful piece that uses your room space well.

